
A Corporate Executive’s Systematic Approach to Primitive Wilderness Shelter Building
My Wake-Up Call in the Backcountry
Learning how to build a shelter with natural materials fundamentally changed my approach to wilderness survival. For instance, in my former corporate life, I spent years analyzing risk matrices, reviewing structural stability reports, and evaluating million-dollar operational decisions based on failure points and resource availability. However, I didn’t truly understand the value of those frameworks until I found myself deep in northern backcountry. Specifically, I was facing an unexpected drop in temperature with no tent, no tarp, and daylight slipping away faster than a quarterly budget review.
In other words, that was the moment when my corporate experience collided head-on with wilderness survival reality.

A storm front was moving in—fast. Meanwhile, my gear was miles away at a base camp after an unexpected detour during a land navigation exercise. Consequently, all I had were my clothes, a knife, and the natural materials around me.

What saved me wasn’t instinct. Instead, it was methodical decision-making, the same structured process I once used in conference rooms.
First, risk assessment. Second, resource inventory. Third, time management. Finally, environmental analysis.
The Turning Point
As a result, building a shelter from nothing suddenly became a high-stakes project with a measurable outcome: stay dry, stay warm, stay alive.
In addition, that night reshaped my approach to wilderness survival—proving that the analytical executive mindset is not a liability outdoors. On the contrary, it’s one of the strongest assets you can bring into the wild. Furthermore, the National Outdoor Leadership School (NOLS) has long emphasized that survival situations require systematic thinking, not panic—a principle I learned firsthand.
Therefore, today I want to walk you through that same framework—teaching you how to build a shelter with natural materials through systematic, professional-grade survival thinking.
Turning Point #1 – Site Selection: Where to Build a Shelter with Natural Materials
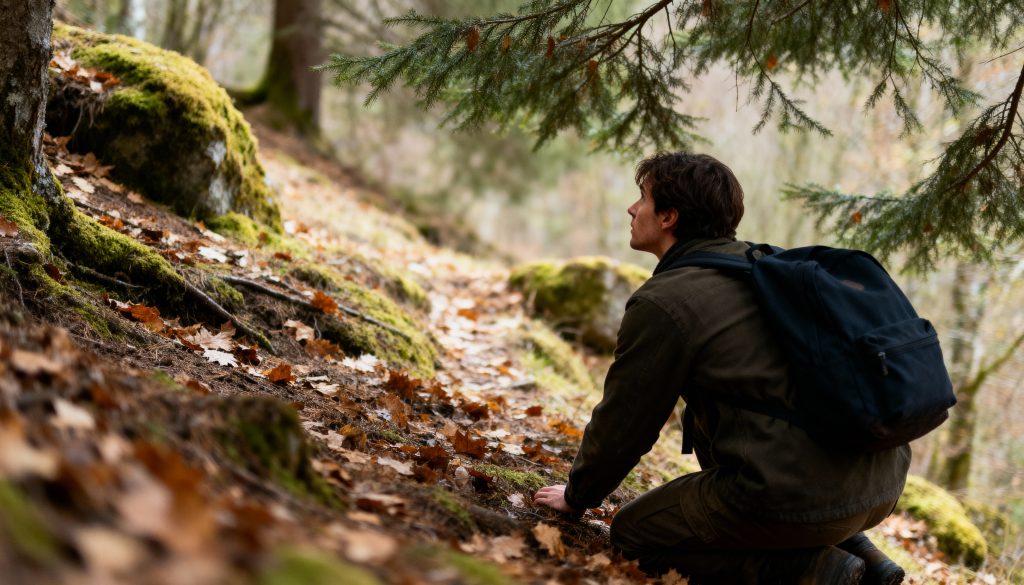
In the corporate world, we call it site analysis. However, in the wilderness, it’s the difference between waking up dry—or not waking up at all.
Indeed, when you build a shelter with natural materials, location selection is 60% of success. Therefore, before touching a single branch, I run through the same assessment I used that night in the bush:
1. Hazard Identification
First and foremost, I evaluate:
- Wind direction
- Water flow paths
- Overhead hazards
- Wildlife trails
- Ground saturation
Just as I evaluate business risks using structured matrices, I likewise apply the same method to terrain analysis.
Key Safety Guidelines
From my survival training:
- Avoid depressions where cold air pools.
- Skip hilltops where wind intensifies.
- Never set up under “widowmakers”—loose branches that can drop without warning.
In fact, this mirrors the same logic I used when conducting operational risk assessments. Specifically, identify failure points, eliminate high-risk variables, and choose the most stable environment possible. Moreover, the U.S. Forest Service provides detailed guidelines on wilderness shelter site selection that align perfectly with these principles.
2. Finding the Best Natural Materials for Your Shelter
Before committing to a location, I check for:
- Standing deadwood (great for structure)
- Leaf litter (insulation)
- Evergreen boughs (shingling)
- Natural windbreaks (terrain advantage)

In essence, this is straight out of the primitive skills playbook where dead standing wood, straight branches, and specific tree types are ideal for structural components. For instance, if you’re new to identifying the right materials, check out my guide on 10 essential wilderness survival skills every beginner must learn to understand what natural resources work best in different environments.
3. Time Management
In business, time is money. However, in the wilderness, time is core temperature.
Therefore, I ask: “How much daylight do I have? What shelter can I realistically complete before dark?”
In other words, the project scope determines the shelter model. Additionally, understanding wilderness first aid and emergency priorities helps you decide whether to focus on fire, shelter, or water first—a critical decision tree I use in every backcountry situation.
As a result, that leads directly to the next step.

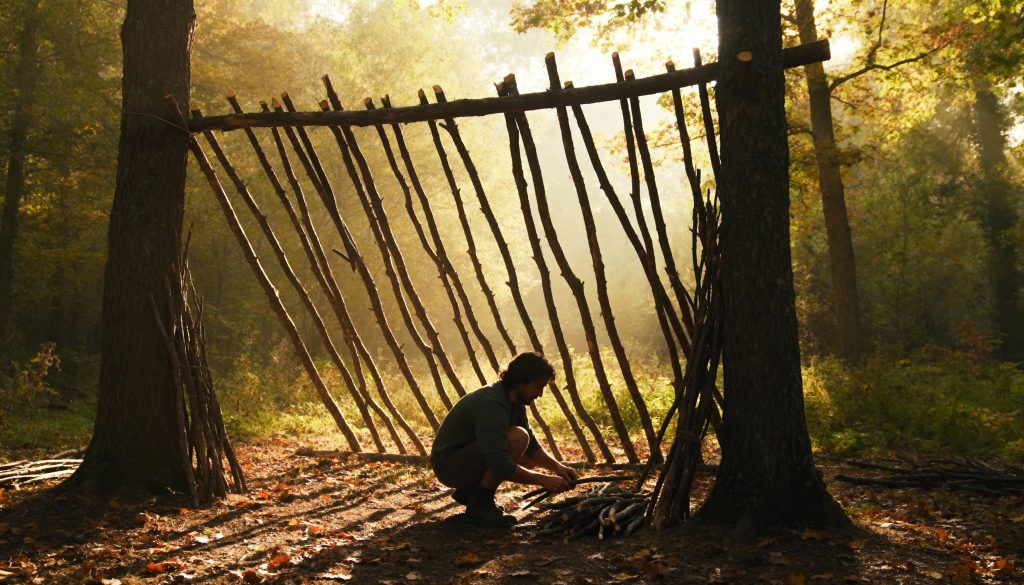
Turning Point #2 – Building Your Shelter Framework with Natural Materials
When I built my first natural-material shelter, it wasn’t pretty—but it worked because I approached it like a structural engineering project.
In short, here’s the corporate-to-wilderness translation:
Step 1 – Build the Spine: Selecting Natural Materials for Your Ridgepole

The ridgepole is the backbone of your shelter. Specifically, it dictates:
- Stability
- Weight distribution
- Roof pitch
- Weather resistance
rom primitive tool knowledge, I learned the best ridgepoles are:
- Dead but solid
- Straight-grained
- About arm thickness
- Supported by two strong anchor points (tree forks or an A-frame)
I test each piece using a simple quality control principle I once applied to equipment inspections:
- Flex test: moderate bend without cracking
- Compression test: press down with full body weight
- Shear test: strike lightly to check for hidden fractures
Just like corporate QC systems, it’s all about verifying integrity before committing to the build.
Step 2 – Construct the Frame (Lean-To or Debris Hut)
Depending on time and climate, I choose between two primary architectures:
The Lean-To
Works well in:
- Mild climates
- Moderate rainfall
- Situations where you have a fire in front for heat reflection
Construction (as reinforced in emergency training):
- Set ridgepole between two anchor points
- Lean branches against it at 45°
- Use smaller branches to create a lattice
- Add leaf litter or evergreen boughs for waterproofing
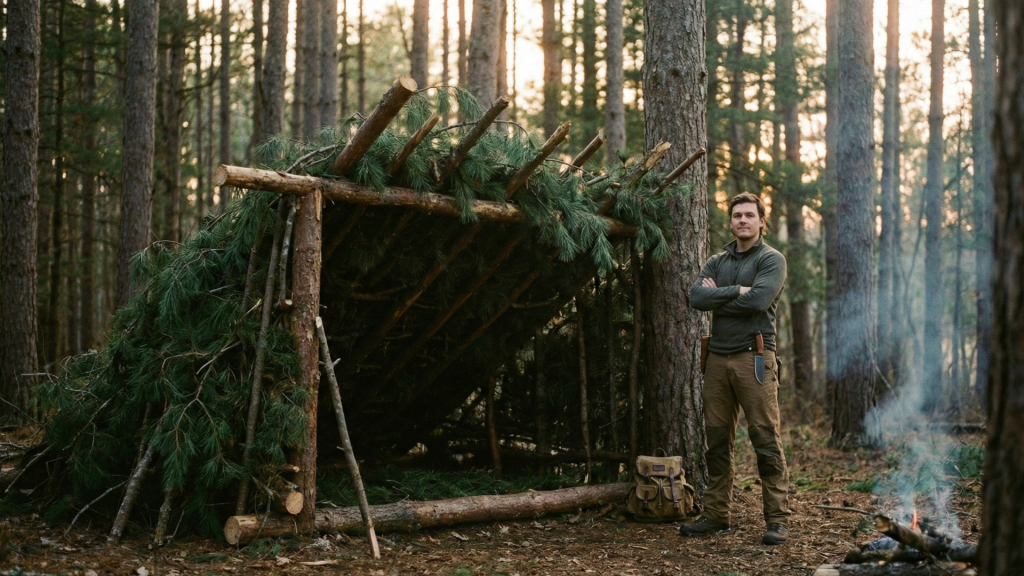
The Debris Hut

The superior choice for:
- Rainstorms
- Windy nights
- Cold environments
- Situations without fire
Construction:
- Center ridgepole between forked branches
- Create a ribcage using shorter branches
- Cover with at least two feet of leaves, duff, pine needles, or moss
- Seal gaps meticulously
This model aligns with primitive tool-building principles—natural insulation, structural simplicity, and weatherproof layering.
Step 3 – Insulate the Interior

Insulation is not optional—it’s survival.
I follow the same principle used in emergency blanket use:
Trap heat, limit conductive and convective loss.
Natural insulation options:
- Dry leaves
- Pine needles
- Bark sheets
- Moss
The goal is to create a 4–6-inch buffer layer between you and the ground—something I learned early in survival training:
“The forest floor will steal heat 30 times faster than cold air.”
Primitive shelters rely heavily on ground insulation, a principle reinforced repeatedly in emergency and primitive skills modules.
Turning Point #3 – Weatherproofing Your Natural Shelter

Once the basic structure is in place, the survival shelter becomes a quality control project—much like testing a new product before rollout.
1. Gap Analysis (Literally)
I walk around the shelter looking for:
- Visible openings
- Draft channels
- Weak support points
This is identical to corporate auditing—identify inefficiencies, then close the gaps.
2. Water Runoff Management
A shelter is only as good as its ability to shed water.
The same way corporate strategies need to deflect risks efficiently, shelters must channel water away through:
- A steep roof pitch
- Shingled debris layering
- Drainage trenches if soil saturation is high
These principles echo lessons from both emergency shelters and primitive debris hut construction.
3. Structural Load Testing
Before committing to an overnight stay, I test:
- Roof load capacity
- Ridgepole stability
- Frame compression
A roof that collapses at 3 AM is not just inconvenient—it’s dangerous.
Common Challenges When Building Natural Shelters
Challenge #1 – Not Gathering Enough Insulation
Most beginners underestimate insulation needs by 70%.
Solution:
Triple what you think you need. Then add more.
Challenge #2 – Picking Poor Locations
Beginners love flat spots—they also pool water.
Solution:
Choose elevated ground with natural windbreaks and drainage pathways.
Challenge #3 – Using Rotten Wood
Rotten wood compromises the structure.
Solution:
Conduct the same “quality control tests” used in primitive tool selection.
Practical Advice for All Skill Levels
Beginner
- Practice in controlled conditions
- Focus on simple lean-tos
- Learn to identify dead standing wood
- Start with knife-only builds to increase skill
Intermediate
- Build debris huts in rain
- Experiment with diverse materials
- Practice timed builds to manage daylight
- Test insulation depth scientifically
Advanced
- Build in sub-zero conditions
- Use snow, spruce, and mixed debris
- Integrate fire management and reflectors
- Combine navigation with shelter placement strategies
Reflective Questions
- Do you approach wilderness projects with the same structured thinking you use in your career?
- How do you manage time pressure when survival—not revenue—is at stake?
- Are you optimizing your skills with the same diligence you apply to professional development?
Conclusion – Master How to Build a Shelter with Natural Materials
Transitioning from a corporate executive to a wilderness survival specialist taught me one undeniable truth:
The skills that keep businesses alive are the same skills that keep people alive.
The Corporate-to-Wilderness Connection
Shelter building is not just about branches and leaves—it’s about applying:
- Risk assessment
- Resource optimization
- Systematic thinking
- Quality control
- Decisive leadership
These corporate pillars translate flawlessly into wilderness survival.
Your Path Forward
If you can manage teams and operations, you can manage a shelter build.
If you can lead a project, you can lead yourself through a survival situation.
And if you can think critically, you can thrive—even with nothing but natural materials around you.
Your next step?
Get outside. Build something. Test it. Improve it.
Because true mastery—corporate or wilderness—is earned through structured practice and disciplined curiosity.