The Day I Was the Patient
I’ve responded to cold-exposure calls over the years. But the incident that taught me the most about hypothermia recognition wasn’t one I attended as a responder — it was one where I was the person going down.
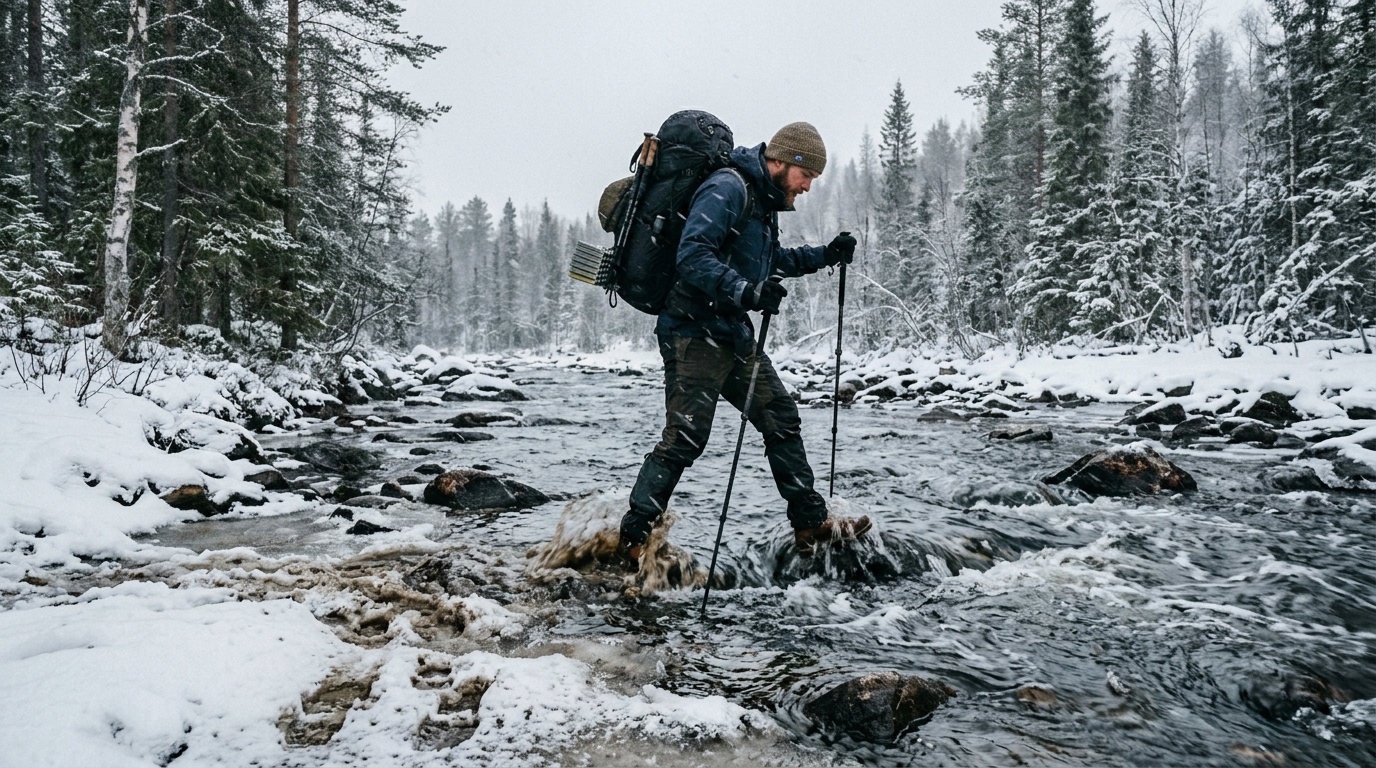
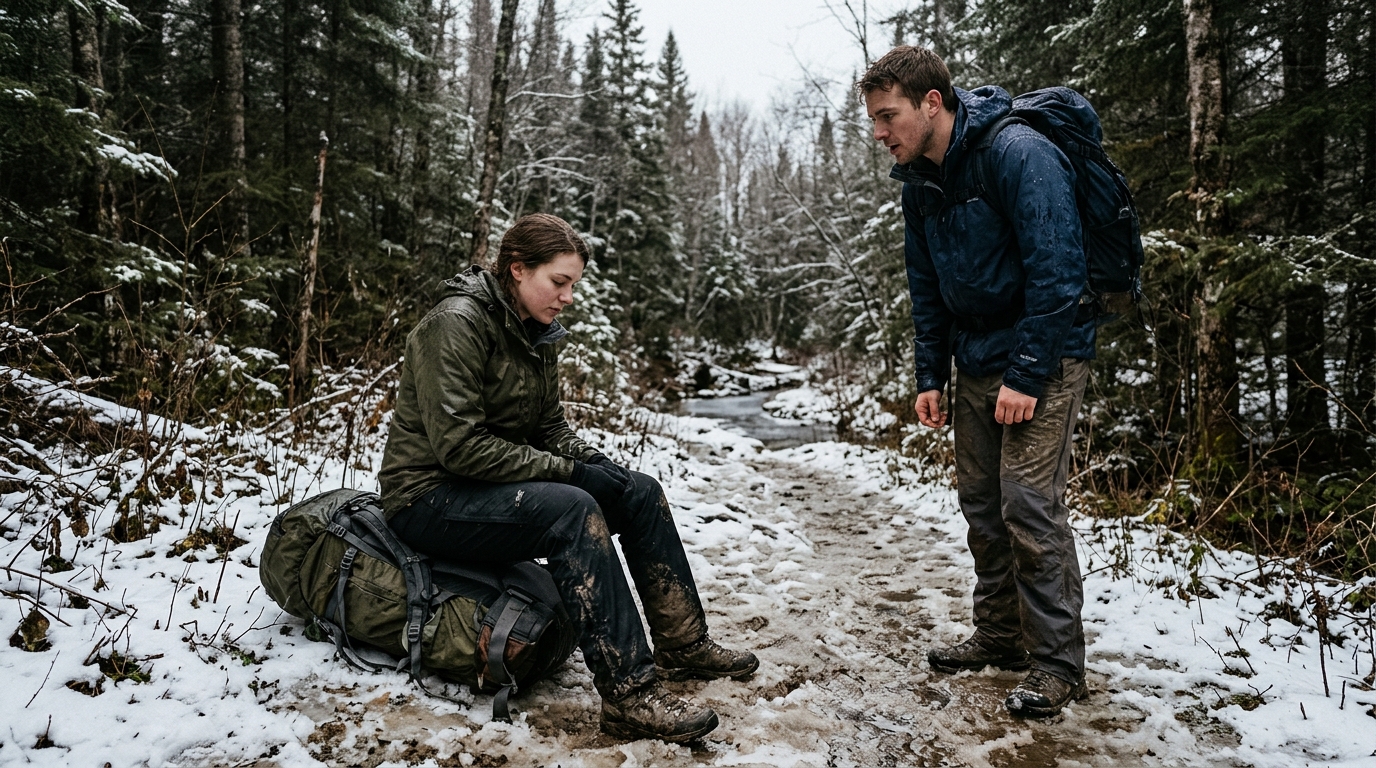
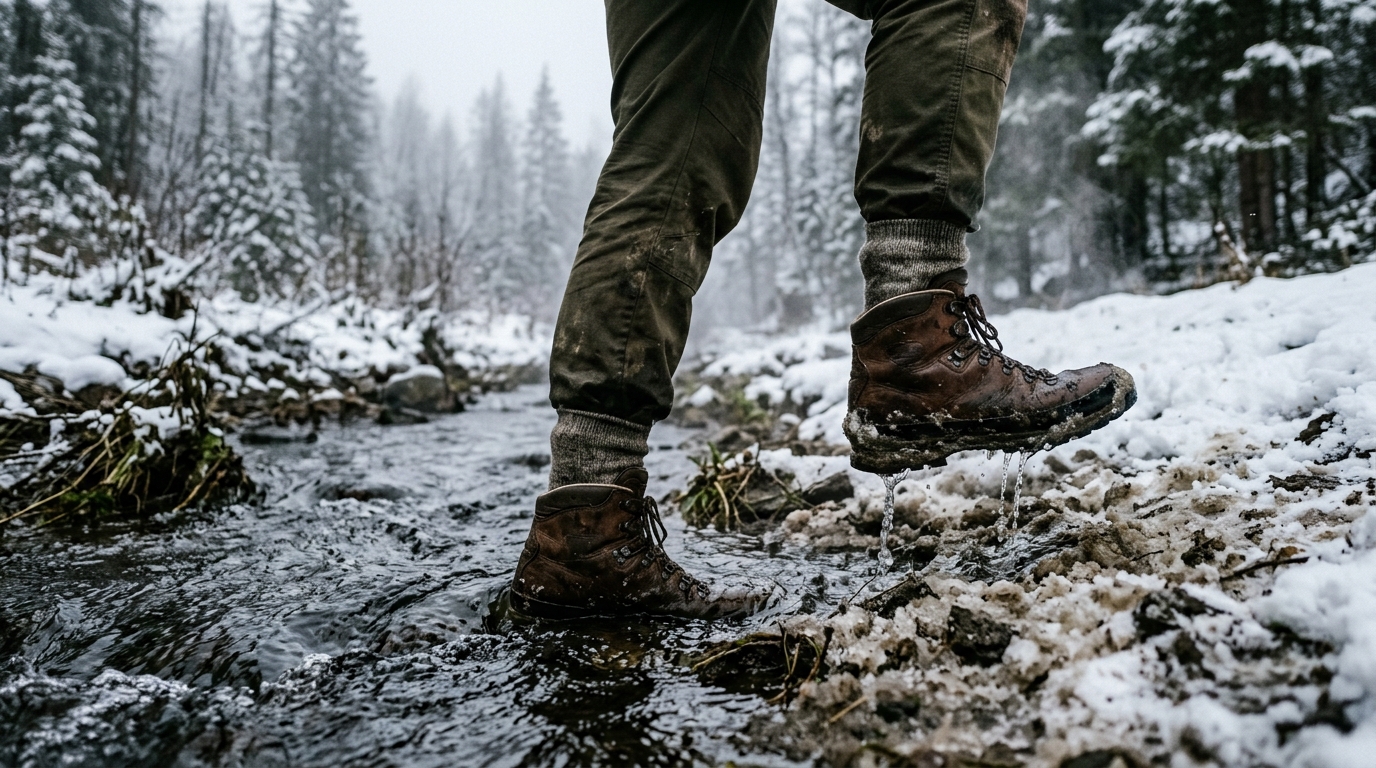
I was hiking in mild conditions, the kind of day that doesn’t feel like a cold-weather risk at all. I crossed a stream, got thoroughly wet, and the wind came up. What followed was a textbook early hypothermia progression, and here’s what struck me afterward: I didn’t recognise it as it was happening. I felt off, uncomfortable, a bit fuzzy in my thinking — but not alarmed. My hiking partner was the one who caught it. He saw the shivering, noticed I was slower to respond to questions, and made the call to stop and deal with it. We got shelter up quickly, I changed into dry layers, and we used shared body heat to bring my temperature back up.
That experience changed how I think about hypothermia recognition. The problem isn’t just that the signs are subtle — it’s that the person experiencing them is often the last one to identify what’s happening. Cognitive impairment is an early symptom, not a late one. By the time someone feels genuinely confused or unable to make decisions, they’re already well past the window where self-assessment is reliable.
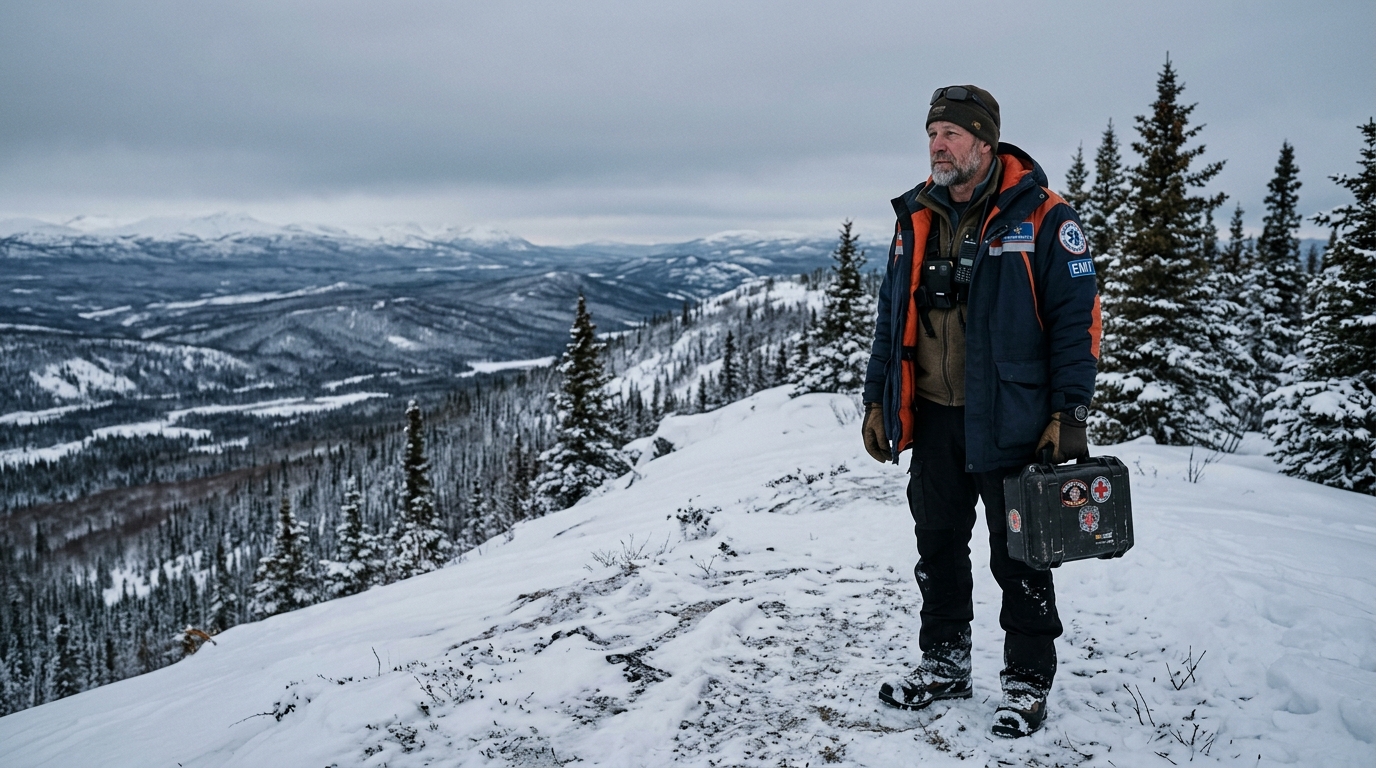
As an Emergency Medical Responder in a northern community — five years of ambulance call-outs across NWT conditions that can sit well below −20°C from November through March — I saw this pattern repeatedly. And the protocol I developed over that period is the same one I’ll walk through in this article.
Why Hypothermia Recognition Is a Foundational Wilderness Skill
Hypothermia kills quietly. It doesn’t announce itself with obvious dramatic symptoms early on — it creeps in as discomfort, clumsiness, quietness, a slight slowing of response. In a group moving through cold terrain, these are easy to miss or attribute to fatigue or mood.
The conditions that produce hypothermia aren’t limited to extreme cold. Wind, wetness, and exhaustion can drive core temperature down in temperatures well above freezing — I’ve seen it happen in summer in the NWT when someone got wet and the wind came up overnight. Most people associate hypothermia with blizzard conditions. In my EMR experience, a significant proportion of cold-exposure cases occurred in conditions that didn’t look dangerous on paper.
The Recognition Framework — Reading the Signs Systematically
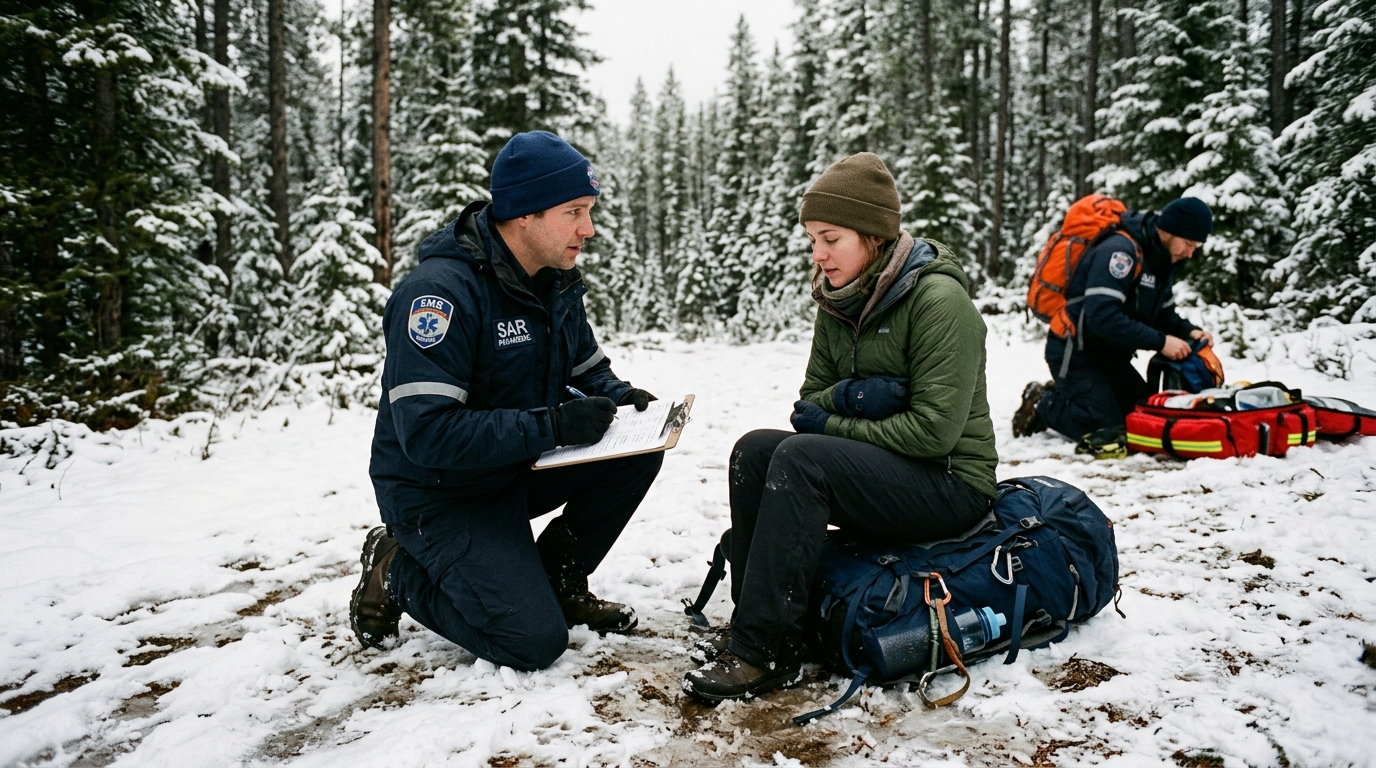
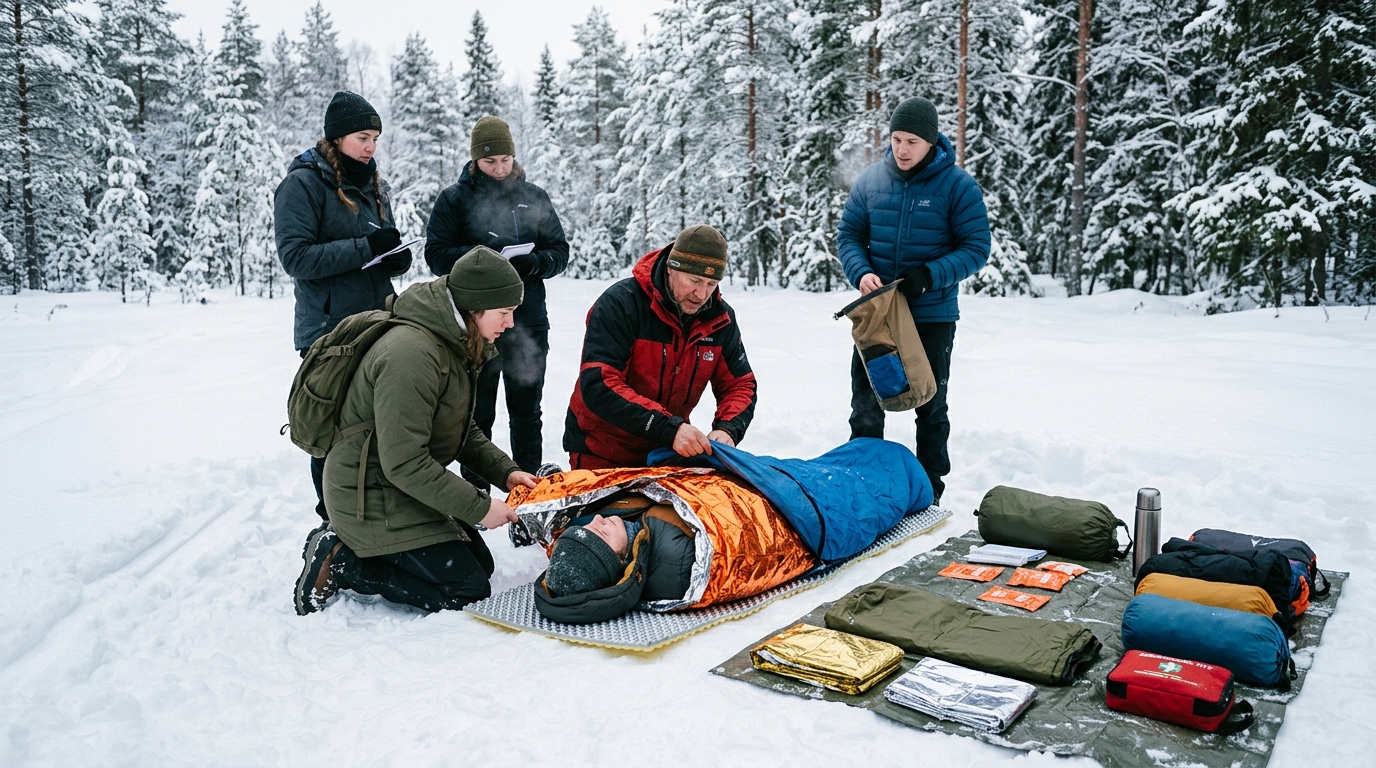
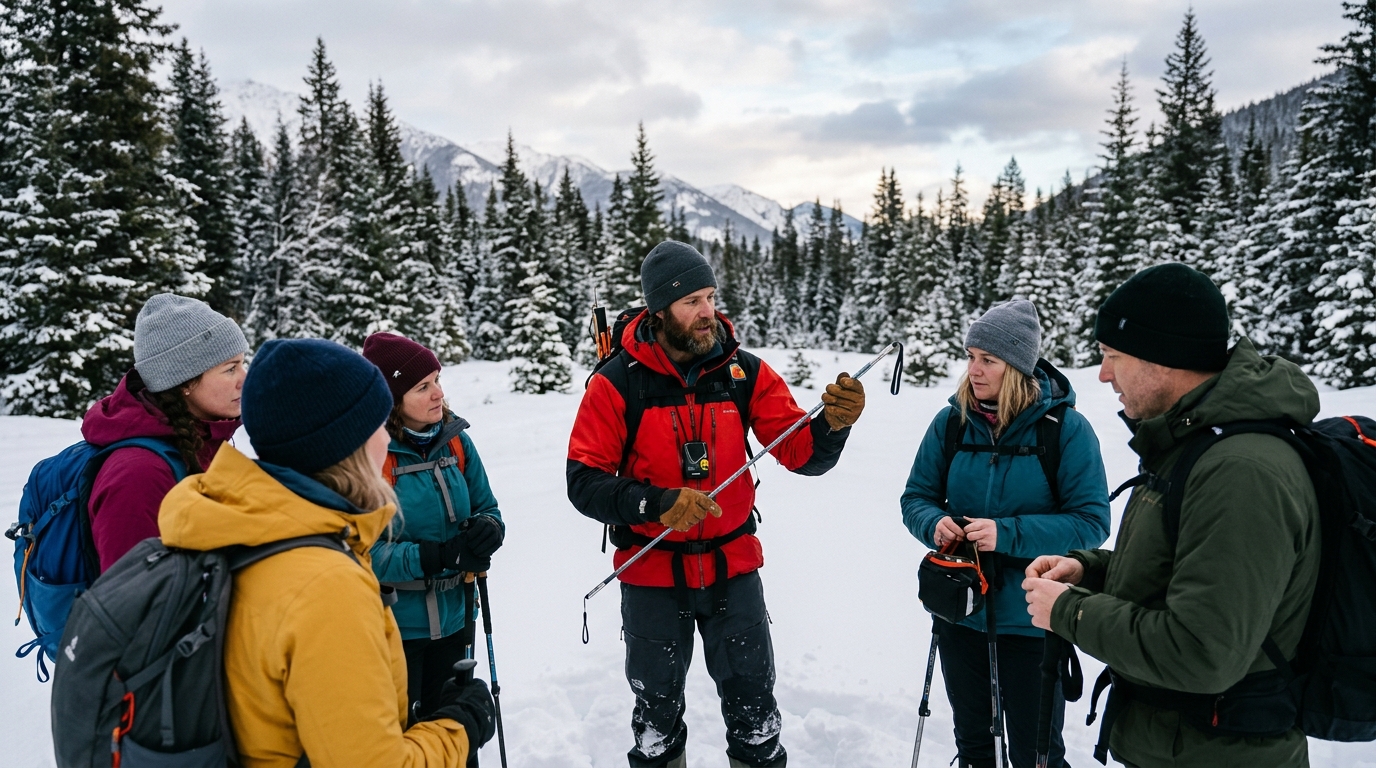
I use a structured four-point recognition check for any patient I suspect may be cold-compromised. This came directly out of my EMR training and field experience, refined over five years of real call-outs. It works in the back of a vehicle, at a trailhead, in the middle of a remote field operation — anywhere you can get hands on the patient.
| The Hypothermia Recognition Check — Four Points |
| 1. THE SHIVER CHECK — Is the patient shivering? Shivering is the body’s active heat-generation response and indicates mild-to-moderate hypothermia. Critically: the absence of shivering in a cold patient is not reassuring. It may indicate severe hypothermia, where the body has lost the capacity to shiver. Shivering present = mild-moderate. Shivering absent in a cold patient = treat as severe until proven otherwise. |
| 2. THE MENTAL STATUS CHECK — Ask a simple orienting question: What’s today’s date? Where are we right now? Is the patient’s response slower than baseline? Confused? Slurred? Cognitive slowing is an early sign of hypothermia, often appearing before the patient feels subjectively cold. This is the check my hiking partner ran on me — and it’s the one most often skipped. |
| 3. THE COORDINATION CHECK — Ask the patient to perform a simple fine-motor task: pick up a small object, unzip a pocket, button and unbutton. Loss of fine motor control is an early indicator of core temperature drop. In NWT conditions, I recommend running this check on anyone who has been exposed to wind, wet, or cold for more than thirty minutes. |
| 4. THE SKIN AND PULSE CHECK — Skin colour, temperature, and quality of the radial pulse. Pale, cold, and waxy skin with a weak or irregular pulse indicates significant core cooling. In severe hypothermia, the pulse may be very slow and difficult to find. Do not assume cardiac arrest without a full check — the metabolic rate in severe hypothermia drops dramatically, and a slow weak pulse is present when it looks like there isn’t one. |
Running all four points takes about ninety seconds once it’s practiced. In cold, wet, or remote conditions, those ninety seconds are the most valuable investment you can make in a patient’s outcome.
Hypothermia Stages — Quick Reference
Map your recognition findings to a stage before you respond:
| Stage | Signs to Recognise |
| Mild (Core ~32–35°C) | Shivering present and vigorous. Alert but slowing mentally. Some loss of fine motor coordination. Skin cold to touch. |
| Moderate (Core ~28–32°C) | Shivering may decrease or stop. Marked mental confusion, slow speech. Significant coordination loss. Muscle stiffness beginning. |
| Severe (Core <28°C) | Shivering absent. Unconscious or barely responsive. Pulse slow and weak or absent to casual check. Pupils may be dilated. Handle with extreme care — rough movement can trigger cardiac arrhythmia. |
A Call I Won’t Forget — Remote NWT Highway, Mid-Winter
Late one winter — temperature around −28°C on a remote stretch of NWT highway — we responded to a vehicle-off-road call. The driver was conscious when we arrived, the car partially buried in snow and off the road edge. He had a head laceration from the impact and was clearly in shock. What we also had was a man who had been sitting in a cooling vehicle for an unknown period before anyone passed and called it in.
The presentation was layered: trauma and cold exposure simultaneously. His mental status was clearly reduced — answers were slow and confused, which could have been attributed entirely to the head injury. His shivering was present but mild. The coordination check gave us the signal we needed: he couldn’t manage the simplest fine-motor tasks and seemed surprised he couldn’t.
We managed both conditions in parallel. Wound control for the head laceration. Active rewarming protocol for the cold exposure: remove wet clothing, insulate from ground contact, apply external heat sources to core areas. We’re talking a good two hours to the nearest hospital from that location. The standard field-to-hospital timeline in remote NWT work is rarely comfortable. You manage the patient through the journey, not just at the scene.
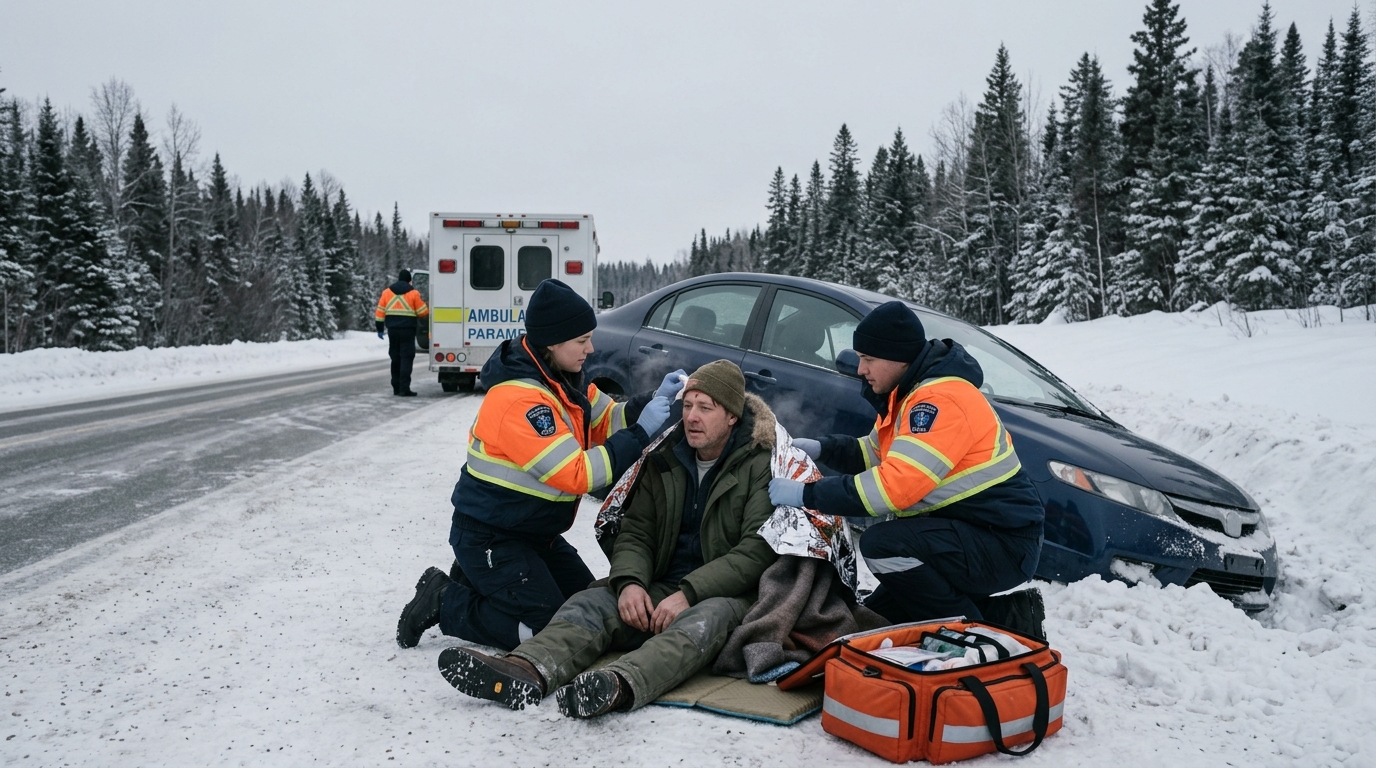
What I want to draw out of that call for this article is the layered presentation issue. When a patient has both trauma and cold exposure, cold can mask pain responses and make injury assessment harder. And a patient who seems mentally slow after a head injury may be also hypothermic — the two compound each other. Running the full recognition check — all four points, not just the obvious one — is what revealed the full picture.
Field Response — The HEAT Protocol
Once you’ve identified a hypothermic patient and staged the severity, the response follows a clear sequence. I use a four-step field protocol I call HEAT — built directly from EMR training and refined through field application in NWT conditions.
| The HEAT Protocol — Field Hypothermia Response |
| H — HALT HEAT LOSS. Stop the body losing more core temperature before you try to add any back. Get the patient out of wind, wet, and cold contact. Remove wet clothing — wet fabric conducts heat away from the body up to 25 times faster than dry. Insulate from ground contact immediately: a significant proportion of heat loss in a downed patient is conducted through the ground. This step takes priority over everything else. |
| E — EXTERNAL REWARMING TO CORE AREAS. Apply heat to the core, not the extremities. Armpits, groin, and the neck are the priority areas — these are high blood-flow zones where external heat transfer is most effective. Chemical heat packs, warm water bottles, or body-to-body contact in an insulated environment. Do not apply heat aggressively to cold extremities: this can cause peripheral vasodilation, returning cold blood to the core and dropping temperature further — a phenomenon called afterdrop. |
| A — ASSESS AND MONITOR. Recheck your recognition points every five to ten minutes. Is mental status improving? Is shivering returning (a sign of mild-moderate cases responding to treatment)? Is the pulse strengthening? A patient who is not showing improvement with correct field treatment for mild-moderate hypothermia needs evacuation as the priority. Severe hypothermia requires hospital management — field treatment is stabilization only. |
| T — TRANSPORT OR EVACUATE BASED ON STAGE. Mild cases managed correctly in the field can often recover to a functional state without evacuation. Moderate and severe cases require hospital management. Prepare the patient for transport with ongoing insulation, monitor continuously, and handle gently — in severe hypothermia, rough handling including unnecessary repositioning or a jarring transport can trigger ventricular fibrillation. |
A note on the after drop risk, because it comes up every time I run this content: the instinct when someone is cold is to warm their hands and feet — it looks like the most direct thing to do, and the patient often asks for it. The physiological reality is the opposite of what intuition suggests. Warm the core. Let the extremities follow as the core temperature recovers. This is one of the points where following a structured protocol matters more than following instinct.
| One critical rule for severe hypothermia: Do not assume death based on apparent cardiac arrest alone in a significantly cold patient. The metabolic slowdown of severe hypothermia can make a pulse nearly undetectable and breathing minimal. The standard in emergency medicine is: not dead until warm and dead. In the field, this means beginning CPR if there is no detectable pulse, and continuing until the patient is warmed and reassessed or until handoff to advanced care. |
The Conditions That Catch People Out — NWT Field Observations
After five years of EMR call-outs and a decade of guided field operations across the NWT, here are the conditions I’ve seen produce cold-exposure cases most consistently. None of them are the dramatic blizzard scenarios you’d expect.
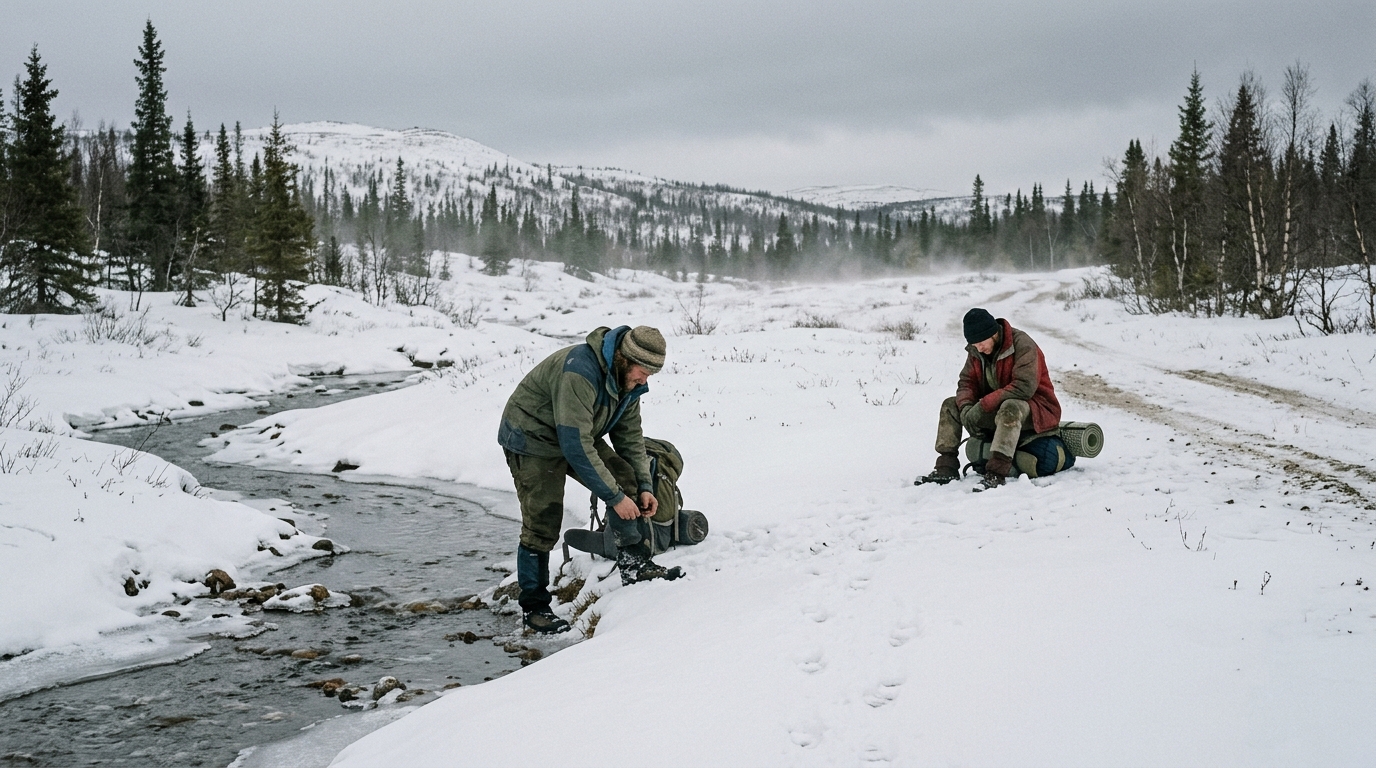
- Unexpected immersion. Stream crossings, ice that doesn’t hold, a capsize on cold water. Wet clothing in any wind above a light breeze drops the functional temperature significantly. In spring conditions on the Mackenzie Delta, water temperatures run well below 5°C even when the air temperature feels mild. Immersion in that water produces rapid heat loss.
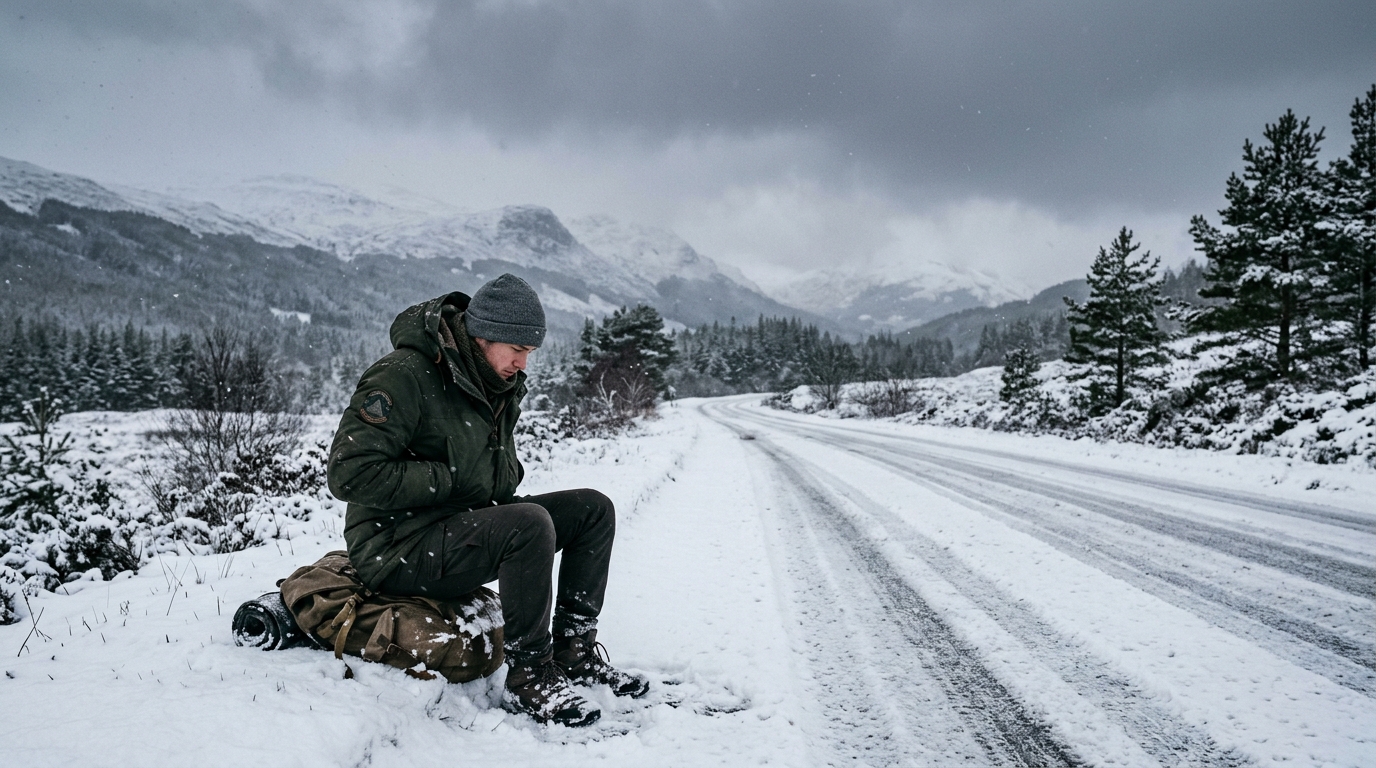
- Extended static exposure. Standing or sitting still in cold conditions — waiting for a ride, a delayed pick-up, a stopped vehicle. Movement generates heat; stillness doesn’t. A person who was warm while moving can deteriorate quickly once stationary in sub-zero conditions, particularly if they’re not dressed for static exposure.
- Fatigue and caloric deficit. Exhaustion reduces the body’s capacity to generate heat. A person who is tired, hungry, and wet in cold conditions is in a genuinely elevated risk profile even in moderate temperatures. This is the combination that accounts for a significant number of the cases I saw that didn’t look like “hypothermia weather” on the surface.
- Gradual environmental change. The temperature dropped slowly, the wind picked up incrementally, the cloud cover came in over a couple of hours. People acclimatise to gradual changes and often don’t adjust their clothing or behaviour until they’re already behind the curve. In northern conditions, this is the one I flag most in field briefings — watch for drift, not just sudden change.
Building Your Hypothermia Response Capability — A Practical Starting Point
Hypothermia recognition and response is one of the most immediately applicable wilderness first aid skills there is — and it’s one of the more accessible ones to learn, because the framework is consistent and the field application is straightforward once practiced.
Here’s how I’d suggest building the capability:
Step 1 — Learn the Recognition Check Cold
The four-point recognition check needs to be automatic — something you can run in stress, in cold, and with cold hands. The way to get there is to practise it on people who aren’t cold: run the mental status check, the coordination check, and the skin assessment on hiking partners, family members, anyone available. Make the sequence habitual before you need it.
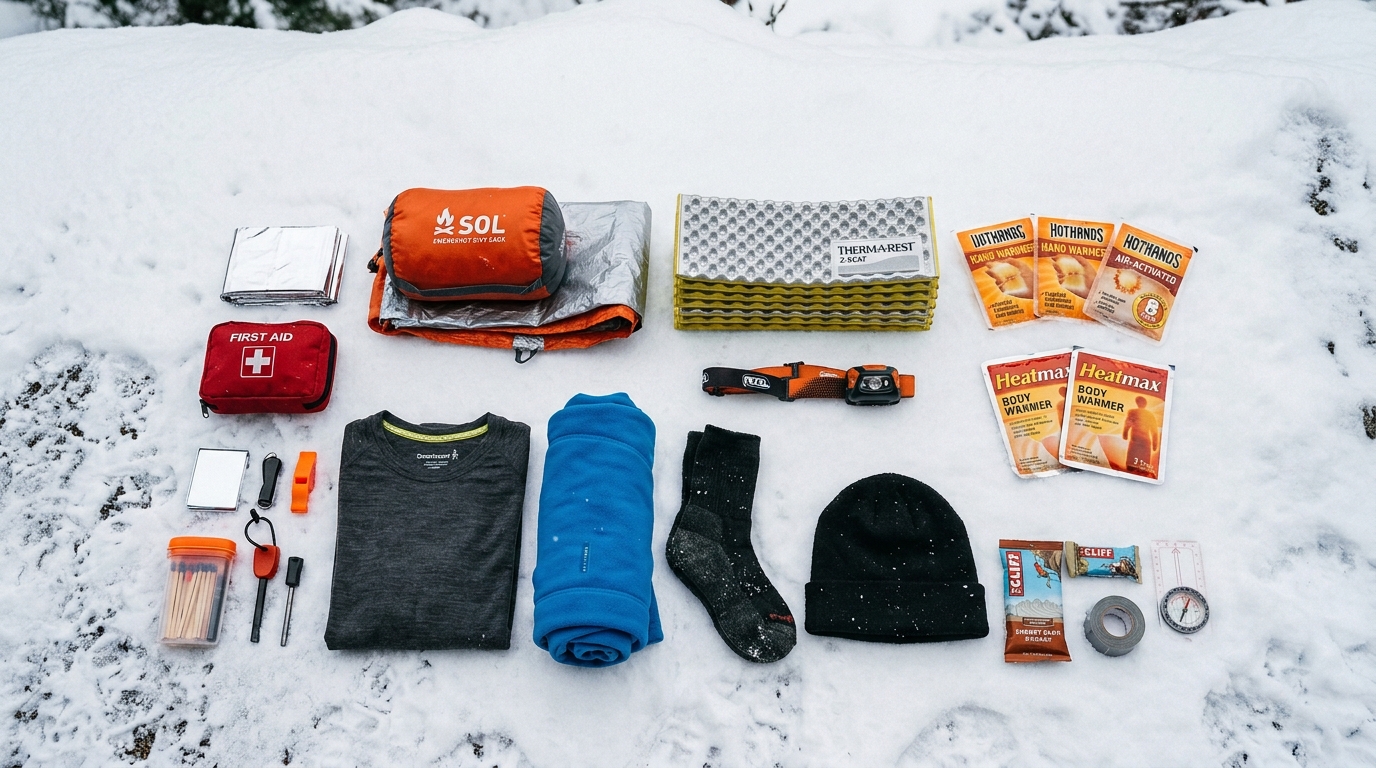
Step 2 — Build a Cold-Weather Response Kit
A basic field hypothermia kit is lightweight and straightforward: a vapour barrier layer (space blanket or bivy), chemical heat packs (kept in an inside pocket so they’re warm and ready), a dry spare base layer sealed in a waterproof bag, and ground insulation. None of this is expensive. All of it earns its carry weight on any trip where temperatures can turn.
Step 3 — Practise the HEAT Protocol in Non-Emergency Conditions
Run through the response sequence on a day hike or an overnight trip — not in response to an actual emergency, just as a drill. Set up the insulation, identify the core rewarming points, practise moving a patient while keeping them insulated. The time to encounter the procedure for the first time is not when someone is actually hypothermic.
Step 4 — Get Formal Wilderness First Aid Training
Field protocol articles like this one are a useful foundation, but they’re not a substitute for hands-on training. A wilderness first aid course puts you in scenario-based situations where the recognition and response sequence is tested under simulated pressure — the closest thing to real call-out conditions you can get without an actual emergency. That’s where the protocols become genuinely reliable.
| Want structured first aid training for real field conditions? Wilderness first aid and cold-exposure response are core modules in Wilderness Ready — practical, scenario-based training built on real NWT field experience. Head to WildSurvival101.com to find out more. |
The Bottom Line
Hypothermia is one of the most manageable wilderness emergencies when it’s caught early and responded to systematically. The four-point recognition check takes ninety seconds. The HEAT protocol is straightforward to apply with basic kit. And the difference between a patient who recovers fully in the field and one who deteriorates to a serious medical emergency is almost always the same thing: how quickly and accurately the recognition happened.
That’s the lesson from five years of EMR work in northern Canada. Not the dramatic cases — though there were those too — but the consistent pattern across dozens of cold-exposure calls: recognition is the skill that determines outcome. Build it. Practise it. Take it into the field with you.
— Ian Flood, WildSurvival101.com · Inuvik, Northwest Territories · 68° North