The Yukon River Test
In the summer of 2005, I was guiding a group of German tourists on a three-day canoe trip along the Yukon River for a local outfitter. We pulled up at a remote campsite on the riverbank — the site of a former small settlement, long abandoned, the kind of place that feels very far from anywhere when the weather turns. The rain had been falling steadily for hours. My job as guide was to prepare the meal. The fire was mine to start.
I didn’t have enough dry tinder. What I had was rain-saturated organic material, a persistent downpour, and a group of clients who were patient but hungry. I made attempt after attempt. The ignition kept dying before I could build anything sustainable. What that afternoon confirmed — through repeated failure with people relying on me — is that wet summer conditions can defeat an unprepared fire system just as completely as sub-zero winter cold. Moisture is moisture. The mechanism is different; the result is the same.
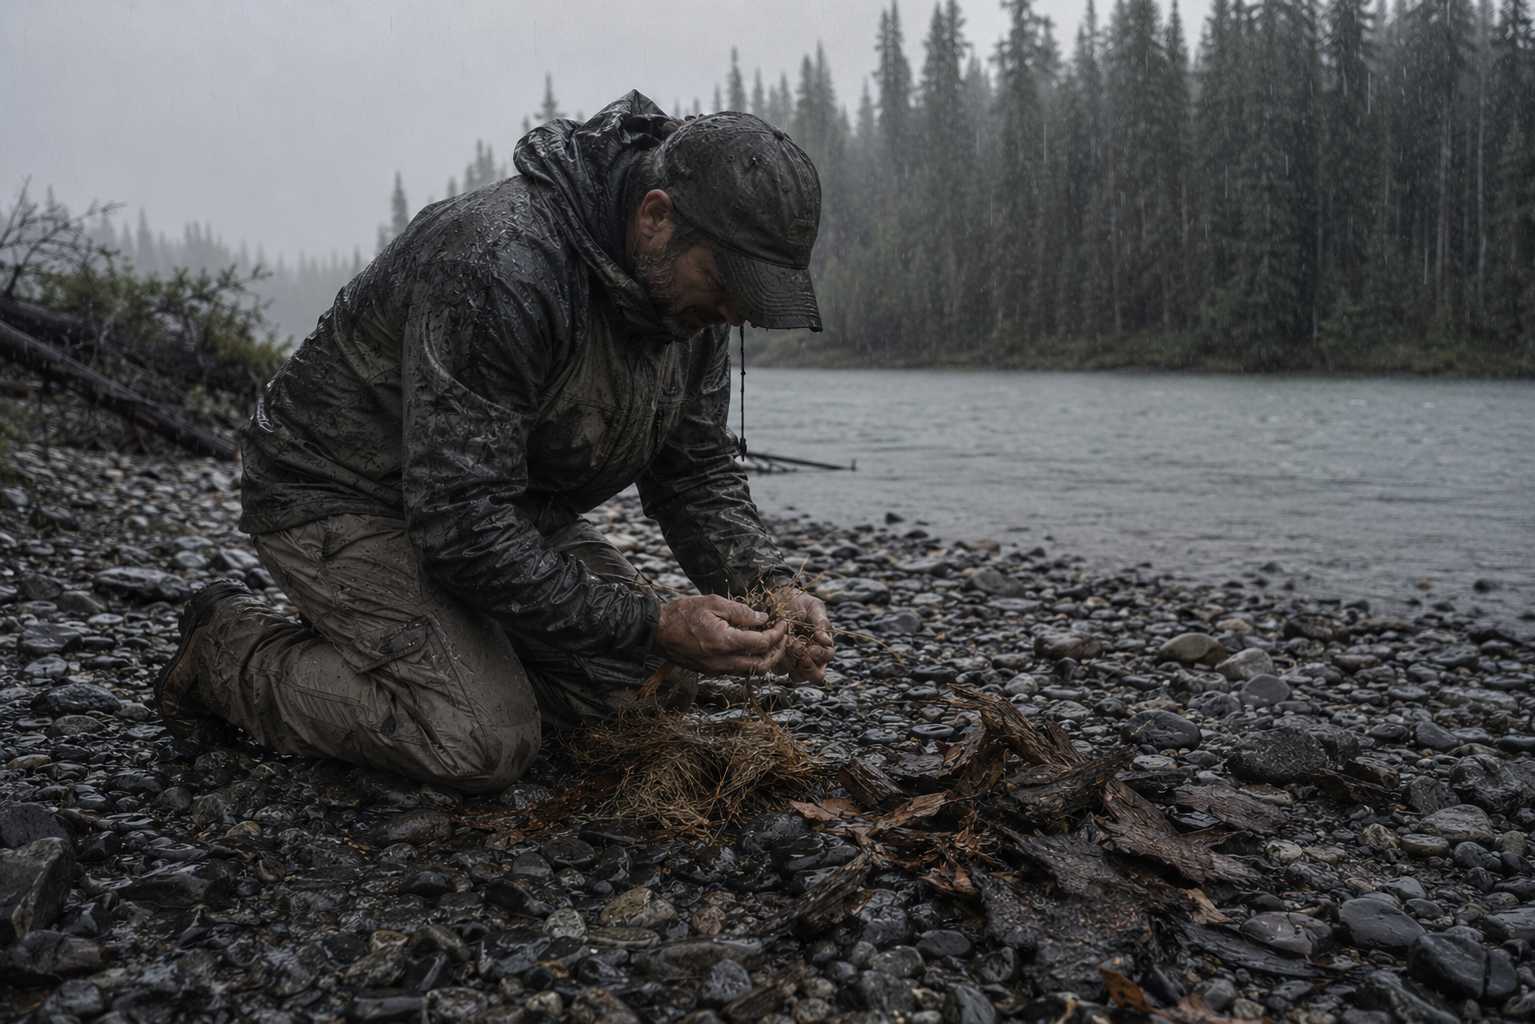
The solution came from the trees. I worked back from the open and found branches with enough overhead cover to have stayed relatively dry. I stripped the bark and carved into the wood itself — dry material that the bark and the tree’s own mass had protected from the rain. It took time I hadn’t planned for, but it worked. After that trip, I changed what I carried permanently. Pre-prepared tinder — dryer lint and petroleum jelly-coated cotton balls sealed in a tin — became non-negotiable kit. A mistake you make in front of clients is one you don’t make twice.
Cold-weather fire starting is a skill that rewards exactly the kind of preparation that professionals already know how to do. This article is the system I teach — field-tested at 68°N in Canada’s Northwest Territories, where the conditions don’t allow for knowledge gaps.
Why Cold Weather Changes Every Variable in Your Fire System
The professionals I train who approach wilderness skills systematically tend to excel once they understand this: sub-zero temperatures don’t just make fire starting harder — they alter the behaviour of every component in your system in predictable, manageable ways. Known failure modes are what good protocols are built to address.
Butane lighters fail below -20°C as the gas loses pressure. Organic tinder absorbs moisture from snow-laden air and resists ignition. Fingers lose fine motor control before you feel it happening — dexterity degrades incrementally, and most people notice only when they’re already fumbling. Wind strips heat from an ember faster than it can be fed. These are not surprises. They are engineering constraints, and engineering constraints can be planned around.
What a decade of northern operations has confirmed: certainty beats improvisation every time. The professionals who start fires reliably in extreme cold aren’t the ones with the best instincts — they’re the ones who pre-solved the problem before the conditions arrived. Building a fire at -35°C in wind is not the moment to figure out your system. That work happens beforehand.
Three Core Competencies: The Cold-Fire Framework
Over a decade of northern operations, I’ve distilled cold-weather fire starting into three competency areas. Each one addresses a specific, predictable failure mode. Each one is learnable with deliberate practice.
1. Ignition System Redundancy: Never Rely on a Single Method
The most common mistake I see is carrying one ignition source and assuming it will work. In northern conditions, that is a risk that cannot be accepted.
Butane lighters — the standard disposable lighter most people carry — fail reliably below -20°C. The gas loses pressure and the lighter will not produce a sustained flame. I’ve seen experienced outdoorspeople genuinely surprised by a dead lighter in the field, because they’d never tested it in temperature conditions matching their environment. If you carry a butane lighter into northern conditions, keep it body-warm — inside your base layer, against your chest. But do not depend on it alone.
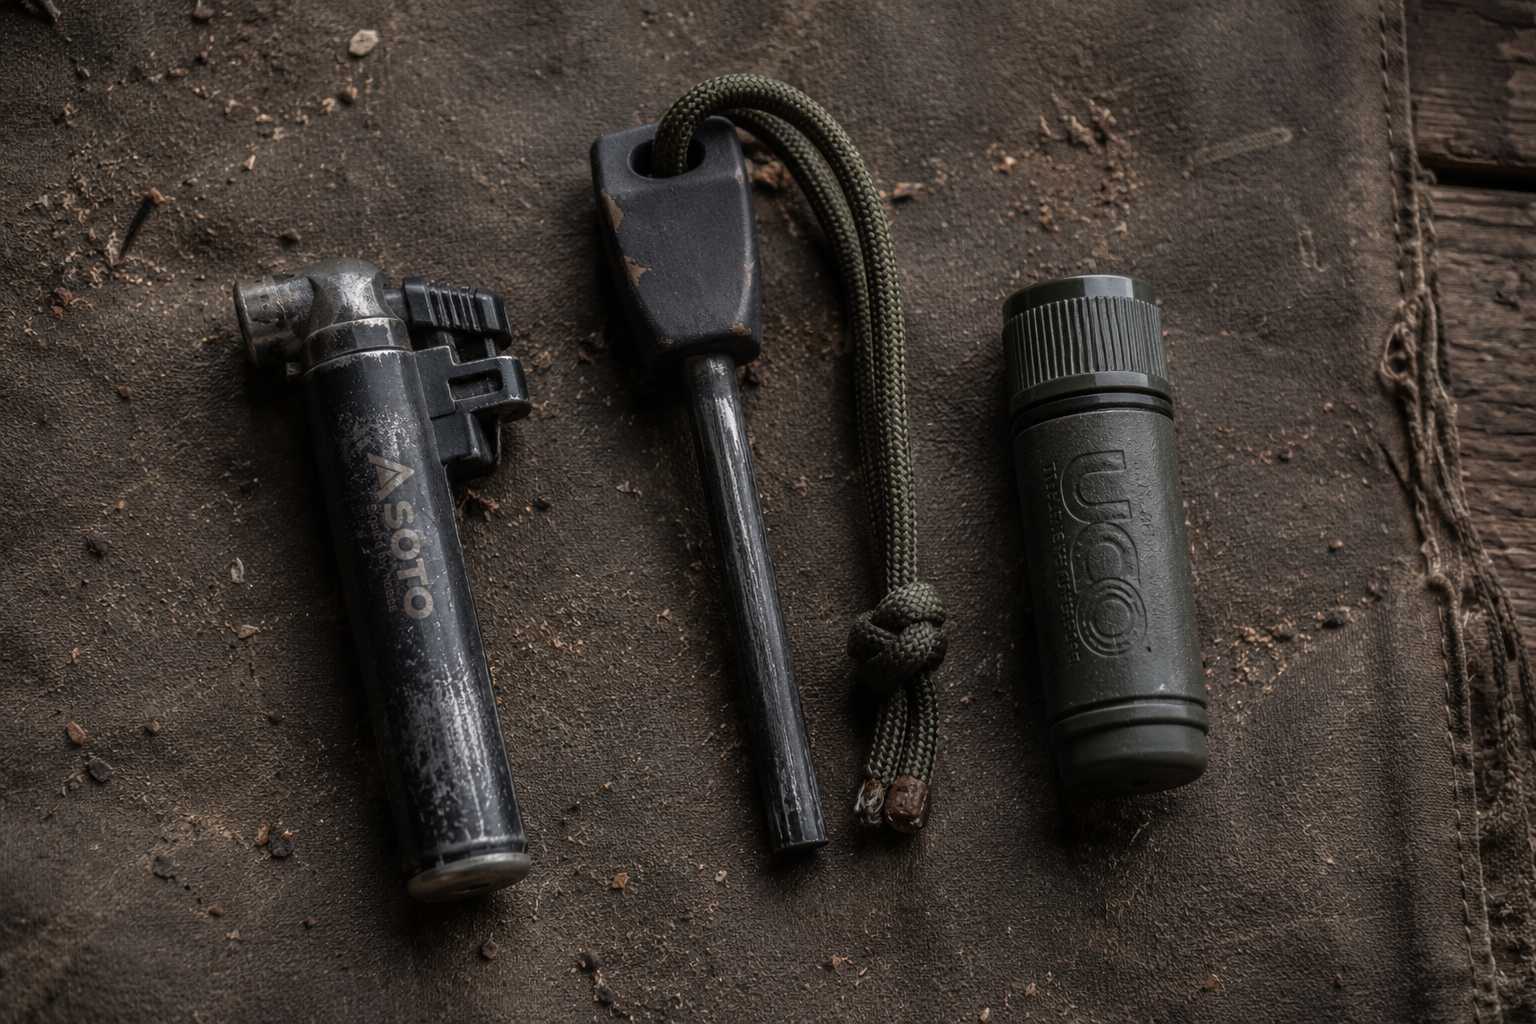
My personal redundancy protocol for northern operations:
- Primary: Windproof torch lighter (butane/isobutane blend) — kept body-warm in a chest pocket
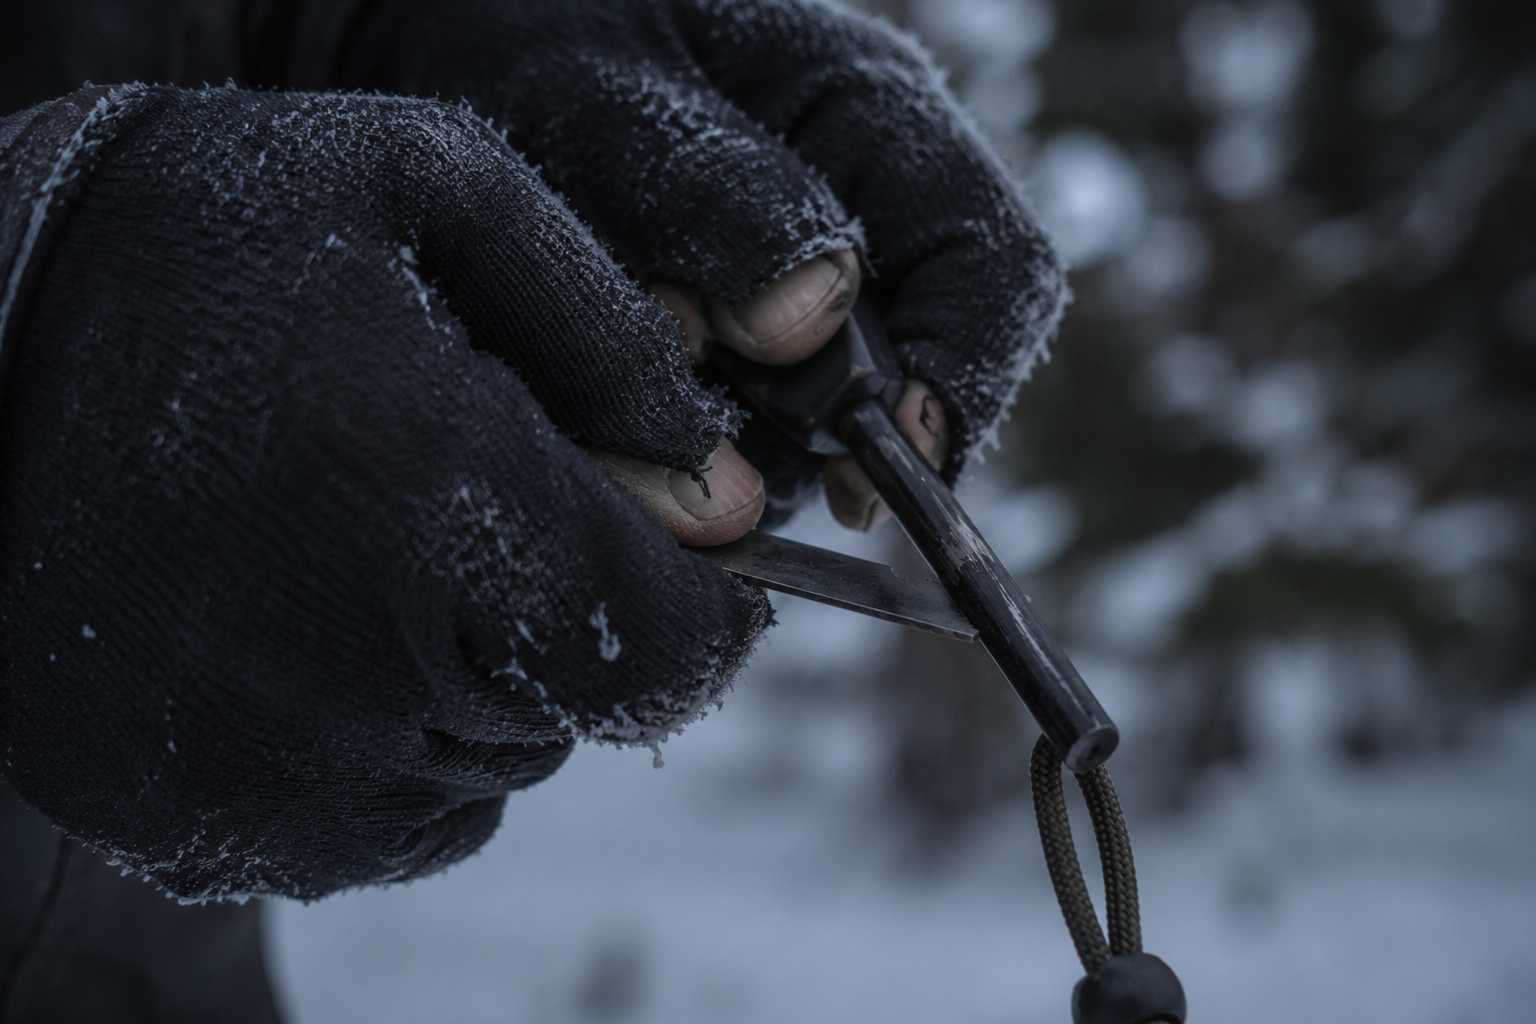
- Secondary: Ferro rod with striker — functions at any temperature, requires practiced technique
- Tertiary: Waterproof matches in a sealed container — backup only, protected from moisture
The ferro rod is the component most professionals under-invest in. It requires technique, it requires practice, and it requires good tinder preparation. But it functions at -50°C, it doesn’t run out of fuel, and it works wet. In Inuvik I’ve used a ferro rod in conditions that would have destroyed any lighter. The investment is in the practice, not the equipment.
The professional principle is straightforward: build redundancy into critical systems. Fire is not a nice-to-have at sub-zero temperatures. Treat your ignition system with the same rigour you would apply to communications redundancy on a remote field operation.
2. Tinder Preparation: The Most Underestimated Step in the System
If there is one place where cold-weather fire protocols break down consistently, it is here. People under-prepare their tinder, then attribute the failure to the weather. The reality: in cold, damp, and windy conditions, the quality of your tinder matters more than your ignition source.
Moisture is everywhere in northern conditions — in the snow, in the air, absorbed into organic materials. Natural tinder sources that perform well in summer — dried grass, birch bark, dead leaves — absorb moisture and become unreliable at low temperatures. This is why I carry pre-prepared, waterproofed tinder as a non-negotiable part of my kit.
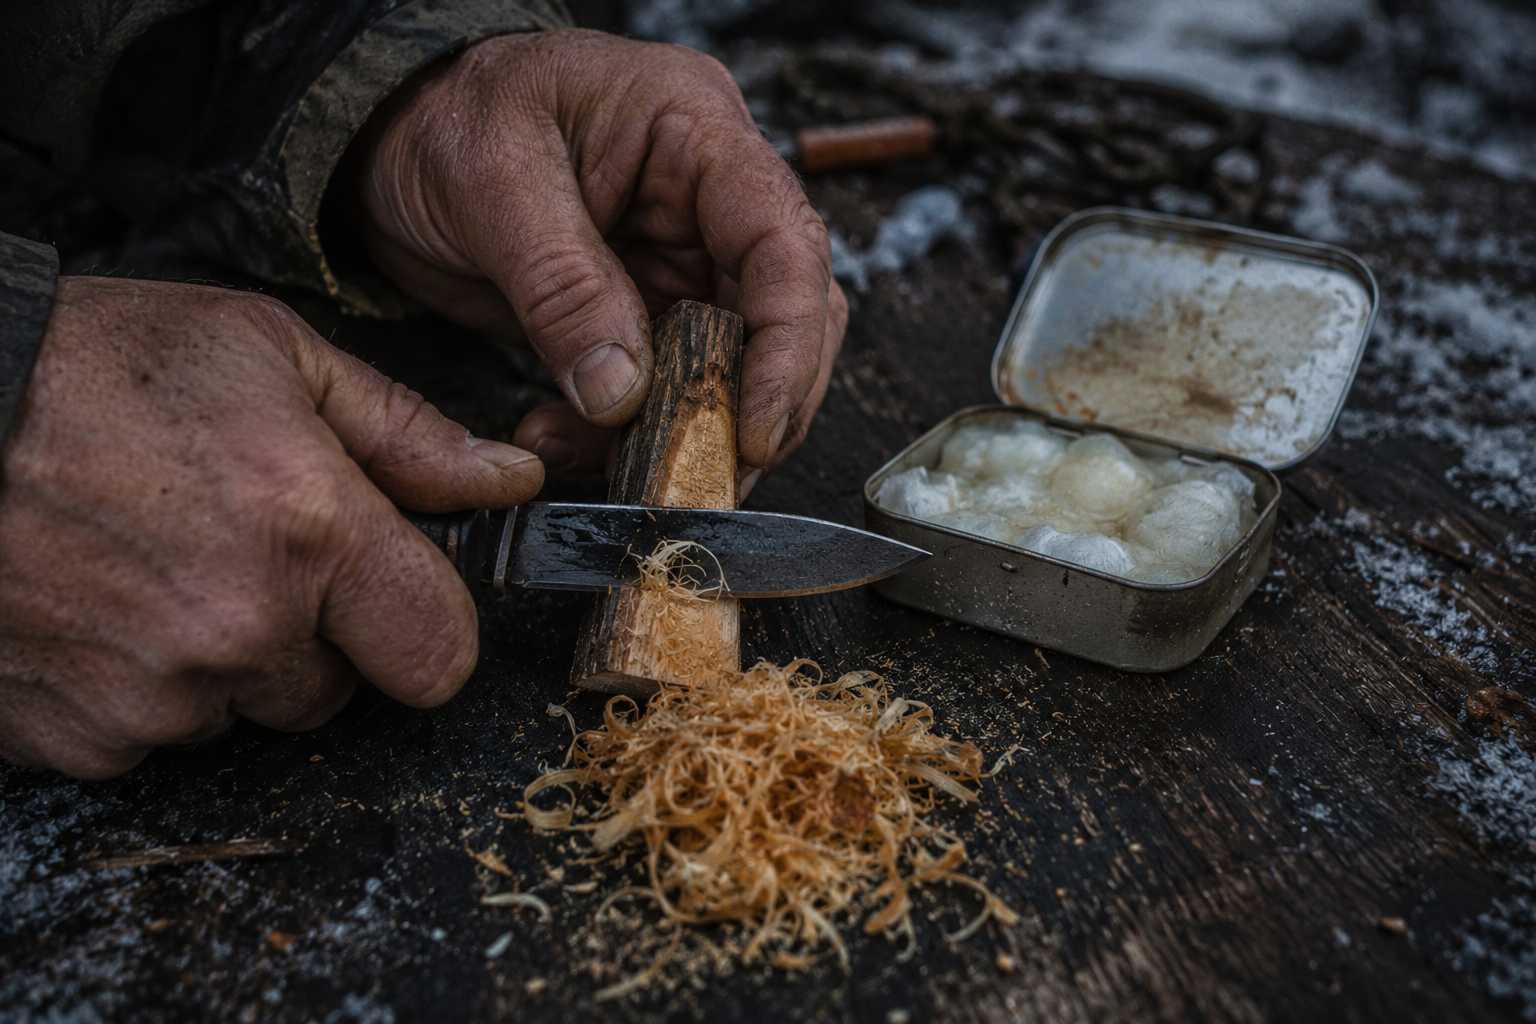
My northern tinder system, field-tested at above 60°N:
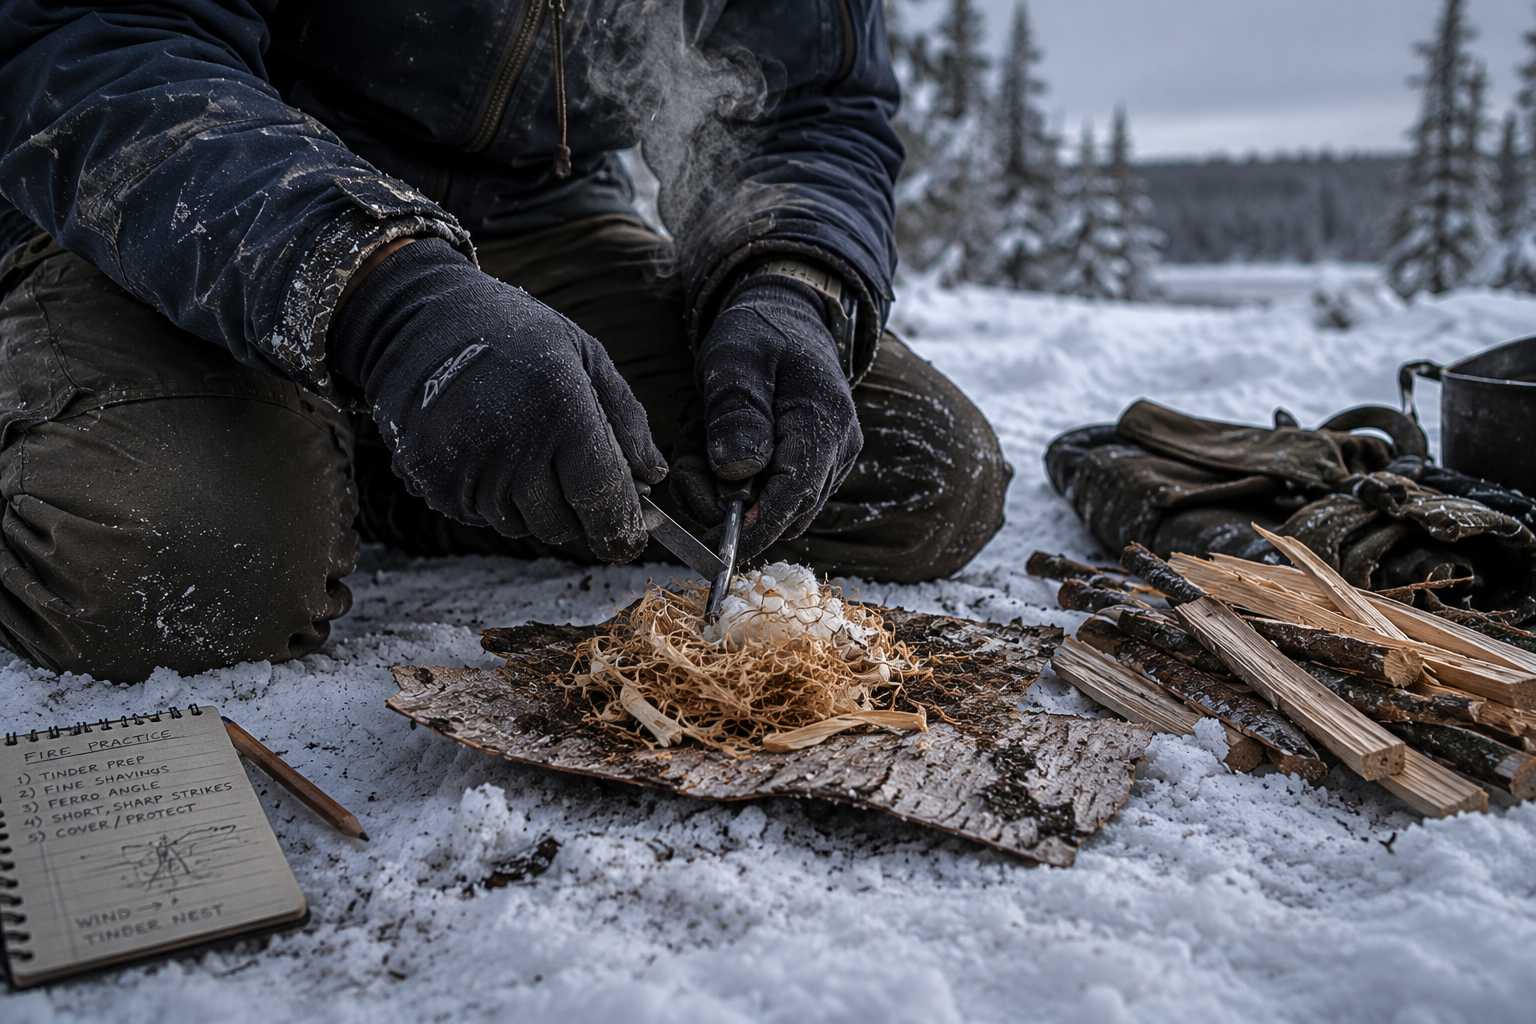
- Fatwood shavings: High resin content, ignites reliably even when damp. Carry a fatwood block and shave it fresh in the field to maximise exposed surface area.
- Waxed cotton balls or petroleum jelly-coated fibre: Pre-prepared at home, stored in a sealed waterproof container. These hold a flame long enough to bridge the gap to kindling even in wind.
- Dry inner birch bark: Where available in the boreal north, extraordinarily resinous and ignites with a strong spark even in cold. Source it from standing dead birch — not ground-contact material.
- Hexamine fuel tablets: Compact, reliable, and burns long enough to dry out marginal kindling. Carry a small supply as absolute emergency backup.
One technique that makes a measurable difference in the field: build your tinder bundle before you need it. When you arrive at a site in cold conditions, your first priority — before fatigue, before hunger, before anything else — is to assemble and protect your tinder bundle from wind and moisture. If you wait until you are cold and your hands are losing dexterity, the fine motor work of shredding fibre and building a bundle becomes genuinely difficult. Do it while you are still warm. That is systems thinking applied to field operations.
3. Site Selection and Wind Management: The Variable Most People Overlook
In calm conditions, a competent fire-starter can make almost any site work. In northern wind at -30°C, site selection can be the difference between a fire and a failed attempt. This is where field experience matters — the instincts required to read terrain for wind shelter are built through practice.
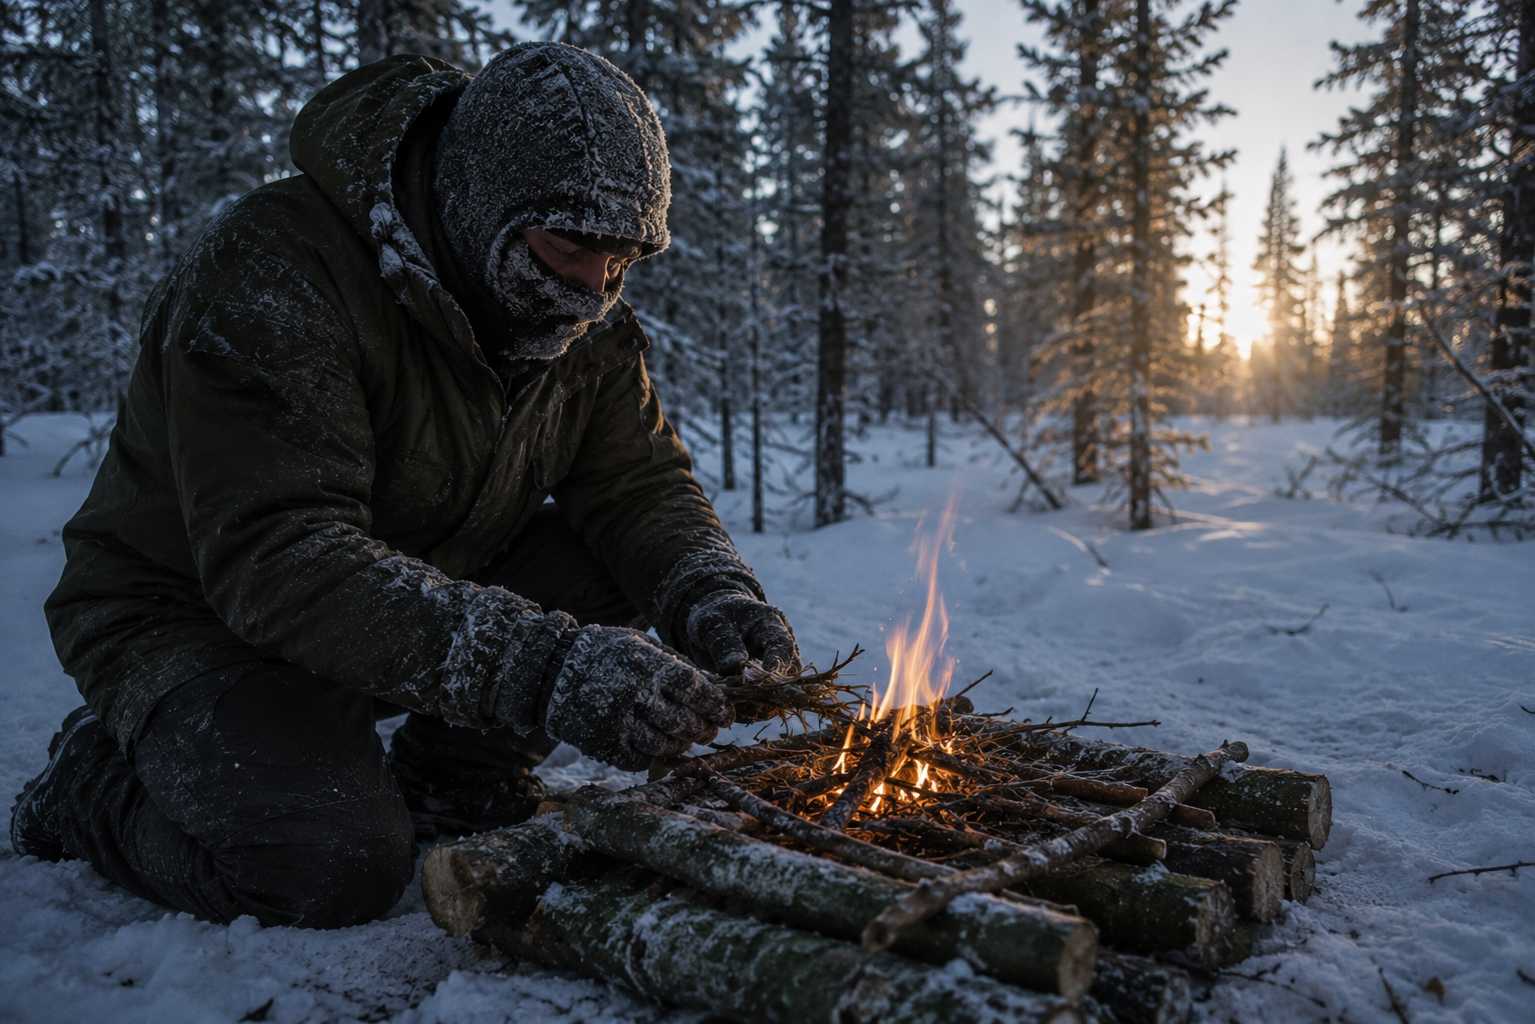
The site protocol I use in the Northwest Territories:
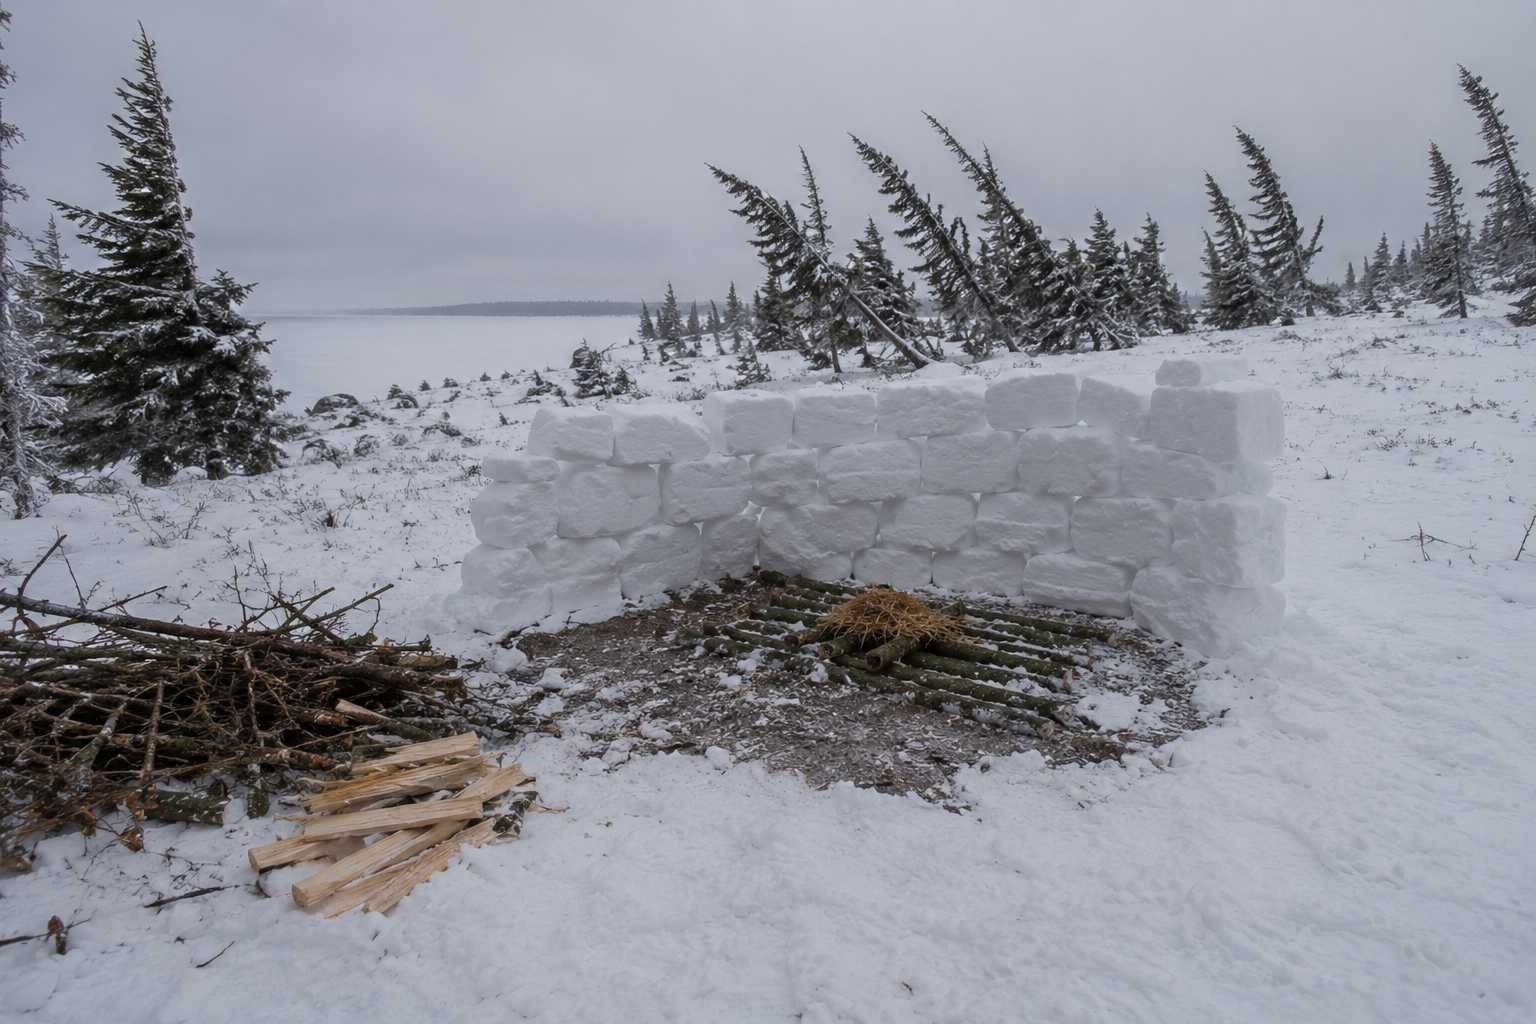
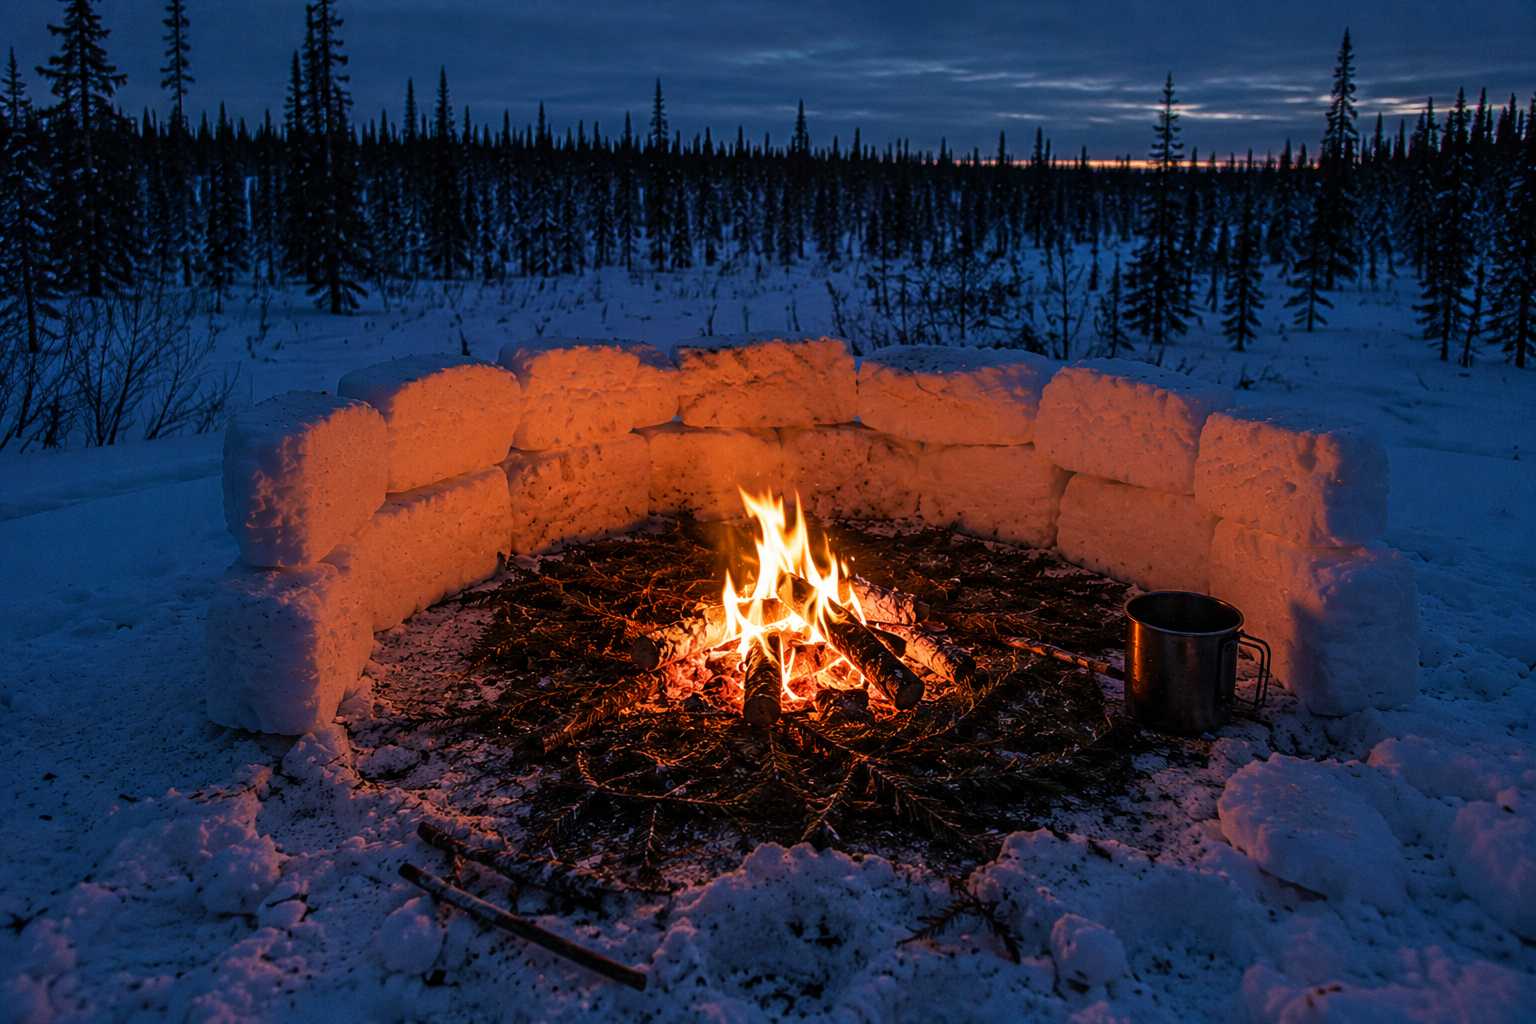
- Read the terrain before committing to a site. A dense stand of spruce on the windward side provides significant buffering. A natural depression or cut bank can reduce effective wind speed dramatically. In open terrain with no natural shelter, build a snow wall — a 60cm block wall on the windward side takes five minutes and transforms your fire-starting environment.
- Clear snow from the fire platform. Building directly on snow is a fundamental error — heat melts the base, the fire sinks, air circulation drops, and the fire dies. In deep snow, build a platform from green logs or a packed snow block base before laying your fire.
- Pre-split your kindling. Cold wood is brittle and splits easily, but splitting requires dexterity you may not have when you need the fire most. Stage your fuel before ignition — fine splits, medium splits, and larger fuel, all dry, all accessible.
- Shield the initial flame. Use your body, a pack, or a folded tarp as a windbreak during ignition. The first thirty seconds are the most vulnerable. Once you have a self-sustaining flame, wind becomes significantly less of a threat.
The professional parallel: you don’t start a high-stakes task without first controlling the variables you can control. Site preparation is controlling the variables. It takes five to ten minutes and dramatically increases your success rate. In emergency conditions, that time investment is always worth it.
Why 68°N Matters: The Context Behind the Protocols
Inuvik sits at 68 degrees north, well above the Arctic Circle. Winters run from November through April, with temperatures that can drop below -40°C during the coldest stretches. Extended darkness from late November through January. Terrain that combines open boreal forest, exposed tundra, and river delta systems that channel wind with considerable force.
Five years working as an Emergency Medical Responder in a remote northern community, alongside volunteer service with fire and ambulance, gave me a working knowledge of how quickly thermal emergencies develop and how consistently preparation determines the outcome. Emergency calls in those conditions — exposure incidents, field accidents in deep winter, equipment failures on remote access roads — sharpened my understanding of the difference between a kit that works in principle and a protocol that works under pressure.
The techniques in this article are not designed exclusively for Arctic expeditions. Anyone who hikes in shoulder seasons, travels remotely in winter, or works outdoors in cold-weather environments faces the same challenges at different magnitudes. The principles scale. A protocol built for -40°C is more than adequate for -10°C. A system tested in the sub-Arctic is overbuilt in a way that weekend-camp-tested techniques are not.
What northern experience produces is an understanding that small preparation gaps have large consequences at the extremes. The professional who has built their cold-weather fire system properly doesn’t just perform better in extreme cold — they operate with genuine confidence in moderate cold, because they know their protocol is overbuilt for the conditions they’re actually in.
A Three-Phase Framework for Building Cold-Weather Fire Competency
You already have the analytical mindset for this. What follows is the structured progression I recommend to professionals building cold-weather fire skills from a general outdoor baseline.
Phase 1 — System Audit and Kit Configuration
Before you practice, configure your system. Identify your three-tier ignition redundancy. Build and test your tinder kit in controlled conditions. Confirm your lighter performs at the lowest temperatures you will realistically encounter — put it in the freezer for an hour and test it. This audit phase consistently reveals gaps that are far easier to fix at home than in the field.
Phase 2 — Controlled Cold-Environment Practice
Practice each ignition method in progressively colder, windier conditions. Start with your primary lighter in light wind. Move to your ferro rod. Then test your full system in genuinely cold outdoor conditions — below -10°C if possible. The goal is not speed; it is building procedural memory so the steps run smoothly when your hands are cold and your mental bandwidth is reduced by the environment.
Phase 3 — Stress-Inoculation and Scenario Integration
Practice starting a fire after physical exertion, because real emergencies rarely happen when you are rested. Practice with cold, wet hands. Practice in the wind. Practice with the tinder you would realistically have access to in the field. The protocol should function when conditions are difficult, not only when they are comfortable. This is where the benchmark becomes reliable.
This is the progression to use with everyone. Each phase has a clear outcome, and each one builds the procedural memory that the next phase depends on. Systematic skill development that produces genuine competency — not just familiarity with the concepts.
“In the field, preparation isn’t a precaution — it’s a professional standard.” — Ian Flood, Former Director, Energy North Operations
The Protocol That Determines the Outcome
Back to that Yukon River campsite in 2005. The tourists were forgiving — they’d told me they were happy to eat cold food if it came to that. But their patience made the lesson sharper, not softer. I’d been caught without a system for a completely foreseeable problem. Heavy rain on a river canoe trip in the sub-Arctic is not a surprise. The tinder shortage was predictable and entirely preventable. What that afternoon confirmed is straightforward: pre-solve the problem before the conditions arrive. Build your kit at home. The field is not the place to discover the gap in your preparation.
Cold-weather fire starting rewards the same qualities you have already developed in your professional life: preparation, process discipline, and the willingness to build a system rather than rely on the moment. The protocols in this article are not complicated. But they need to be built, tested, and practised before you need them.
If you are looking for a structured, systematic approach to wilderness preparedness built on real northern field experience, that is exactly what WildSurvival101 delivers. Explore the training and start building the competency that holds up when conditions are at their worst.