A Systematic Approach to Getting Found When It Matters
Section 1 — Opening Hook
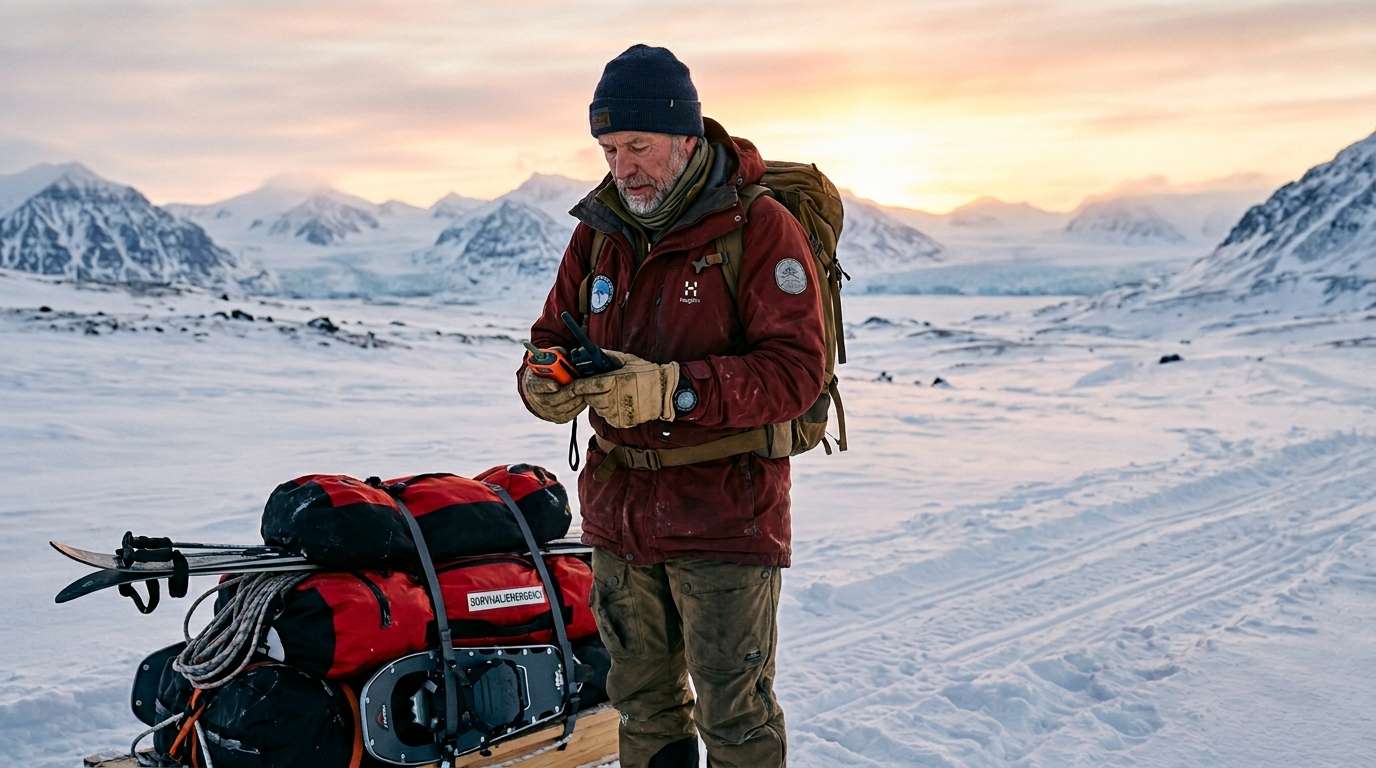
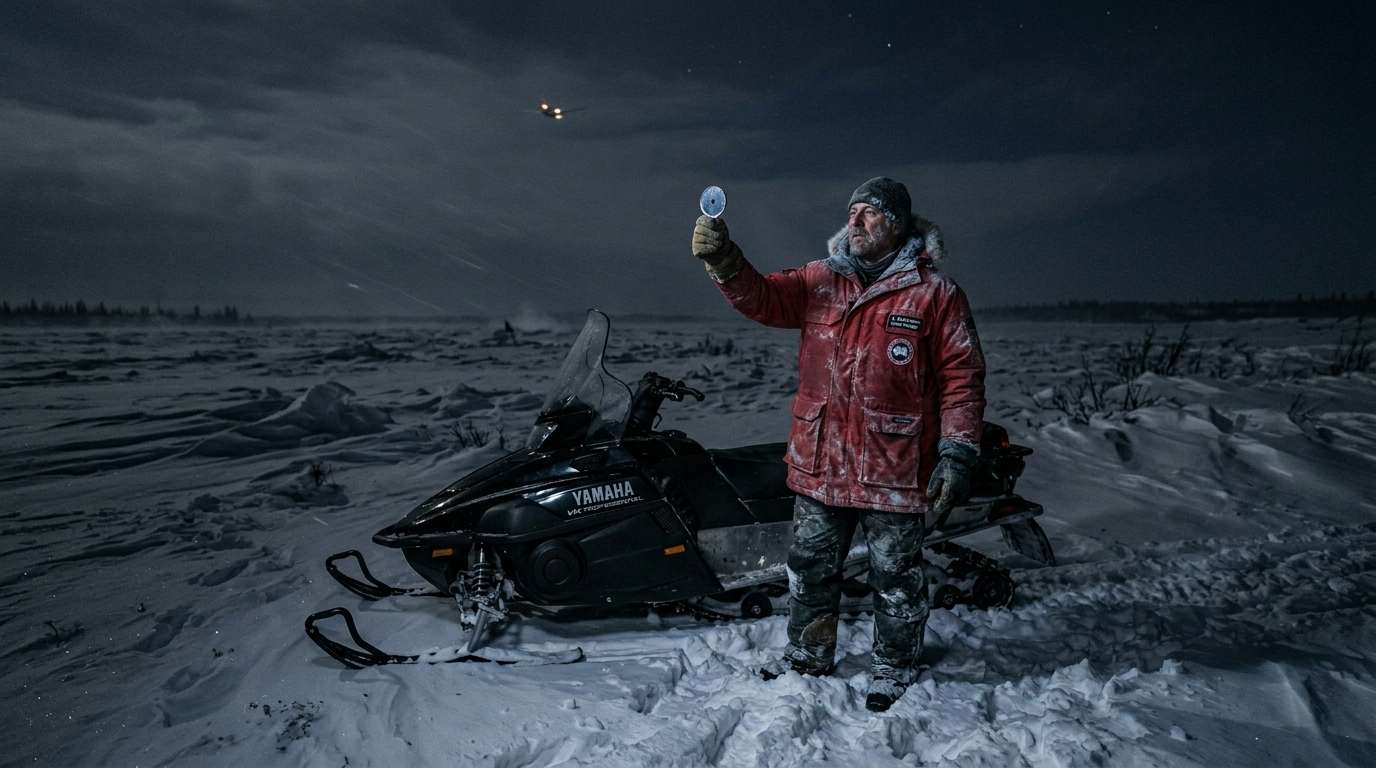
It was just after 2 a.m. on a March night near the Mackenzie Delta — -38°C (-36°F), wind chill pushing it well past -50°C (-58°F). A snowmobile operator had separated from his group ten kilometres outside of Inuvik. He had his machine, a partial tank of fuel, and no satellite communicator. What he did have, it turned out, was a signal mirror and enough presence of mind to use it.
By the time the team reached him, he had been stationary for six hours — engine off to conserve fuel, body heat managed, and a series of reflective flashes directed toward the beam of a distant aircraft he’d heard before he ever saw it. The rescue team confirmed it: his signal was picked up at over two kilometres in near-total darkness, catching the aircraft’s landing light on a banking turn.
He’d learned that technique from a wilderness first aid course years earlier. He hadn’t thought much about it since — until that night.
Emergency signalling is one of the most underrated skills in any wilderness preparedness framework. It doesn’t require physical strength or years of fieldwork. It requires a system. And like most things in the backcountry, the professionals who do it best are the ones who treat it like a protocol — not a last resort.
Section 2 — Why Structured Signalling Knowledge Matters for Professionals
If you work in resource industries, manage field teams, or simply take your outdoor safety seriously, you already think in systems. You understand contingencies, redundancy, and the difference between a plan and a plan that actually holds up under pressure.
That analytical mindset is exactly what wilderness emergency signalling rewards.
Most people treat signalling as a vague afterthought — something you improvise when things go wrong. In my five years as an Emergency Medical Responder in the Northwest Territories, I’ve seen enough remote calls to know that improvised signalling in a panic is significantly less effective than a practised protocol executed calmly. The distinction isn’t courage. It’s preparation.
Here’s what every professional who walks through training learns: your ability to think clearly under pressure is your biggest asset in a wilderness emergency. The skills themselves are straightforward. What trips people up isn’t complexity — it’s not having a framework to fall back on when adrenaline is high and decision-making feels slippery.
Signalling is also one of the few wilderness survival skills that directly improves rescue outcomes — not just survival duration. You can stay warm and sheltered for days. But unless someone knows where you are, that time is working against you. A well-executed signal collapses that gap. And in the NWT, where daylight can be gone by 3 p.m. in November and temperatures can swing forty degrees in twelve hours, collapsing that gap matters enormously.
The good news: the core framework is teachable, portable, and scalable to whatever environment you’re operating in.
Section 3 — The Signal Stack Protocol: Ian’s Three-Layer System
When I teach emergency signalling, I work with a framework I call the Signal Stack Protocol. It organises signalling tools into three layers based on range, reliability, and conditions — and it gives you a clear decision sequence even when you’re stressed and cold.
| THE SIGNAL STACK PROTOCOL — OverviewLayer 1: Visual Signals (Highest range in clear conditions) Layer 2: Auditory Signals (Short to medium range; weather-resistant) Layer 3: Electronic Signals (Longest range; requires preparation) Rule: Always work the layers. Start with what you have. Escalate systematically. |
Layer 1: Visual Signals
Visual signals are your highest-range tools in clear weather — and in a northern environment, clear days are actually your best rescue windows. Cloud cover, snow, and low-angle light reduce range significantly, so when conditions open up, you need to move fast and signal deliberately.
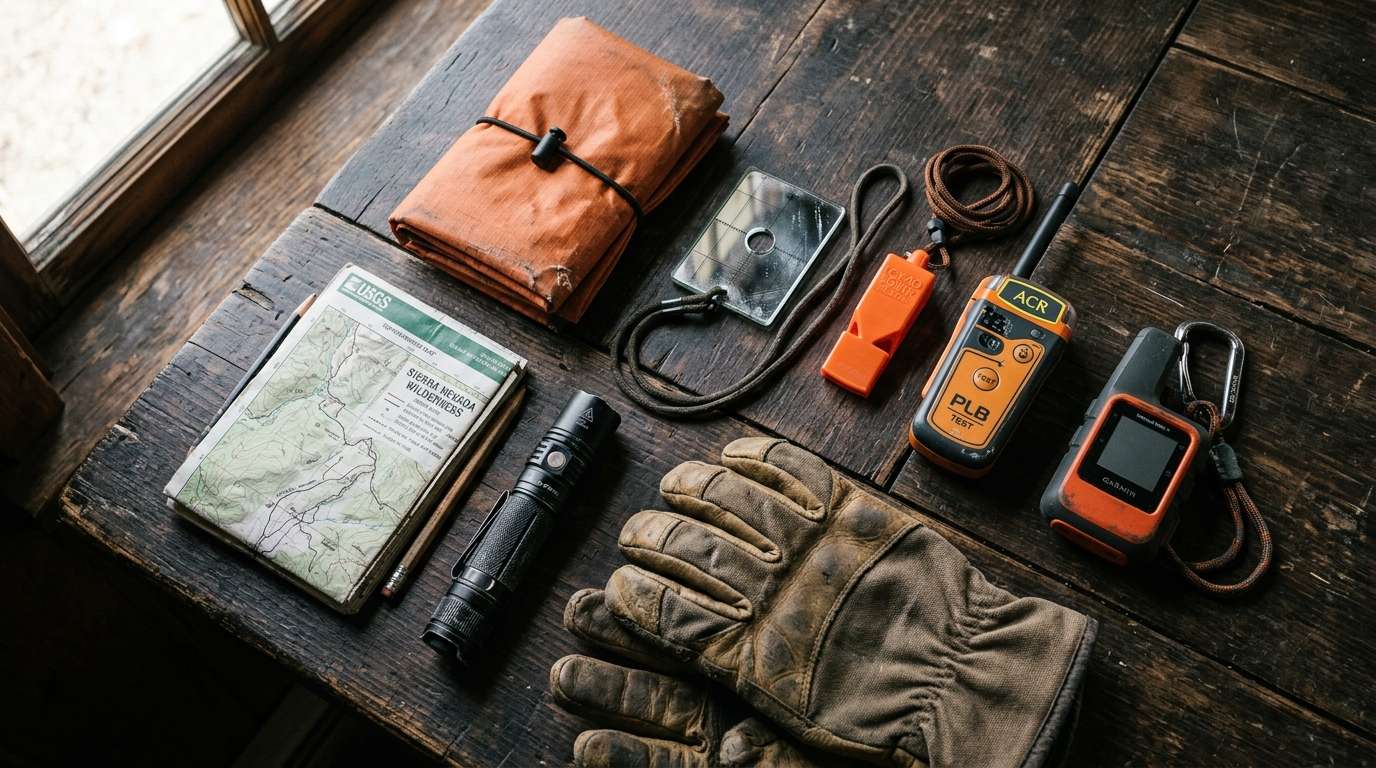
The three visual tools I carry and teach every client to carry are: a signal mirror, a high-visibility panel or tarp, and knowledge of ground-to-air signal patterns.
Signal Mirror: A quality signal mirror — one with a sighting hole — can project a flash visible for up to 15 kilometres in full sun. The Mackenzie Delta incident I described earlier? That was a basic signal mirror. No electronics required. No batteries. Just technique.
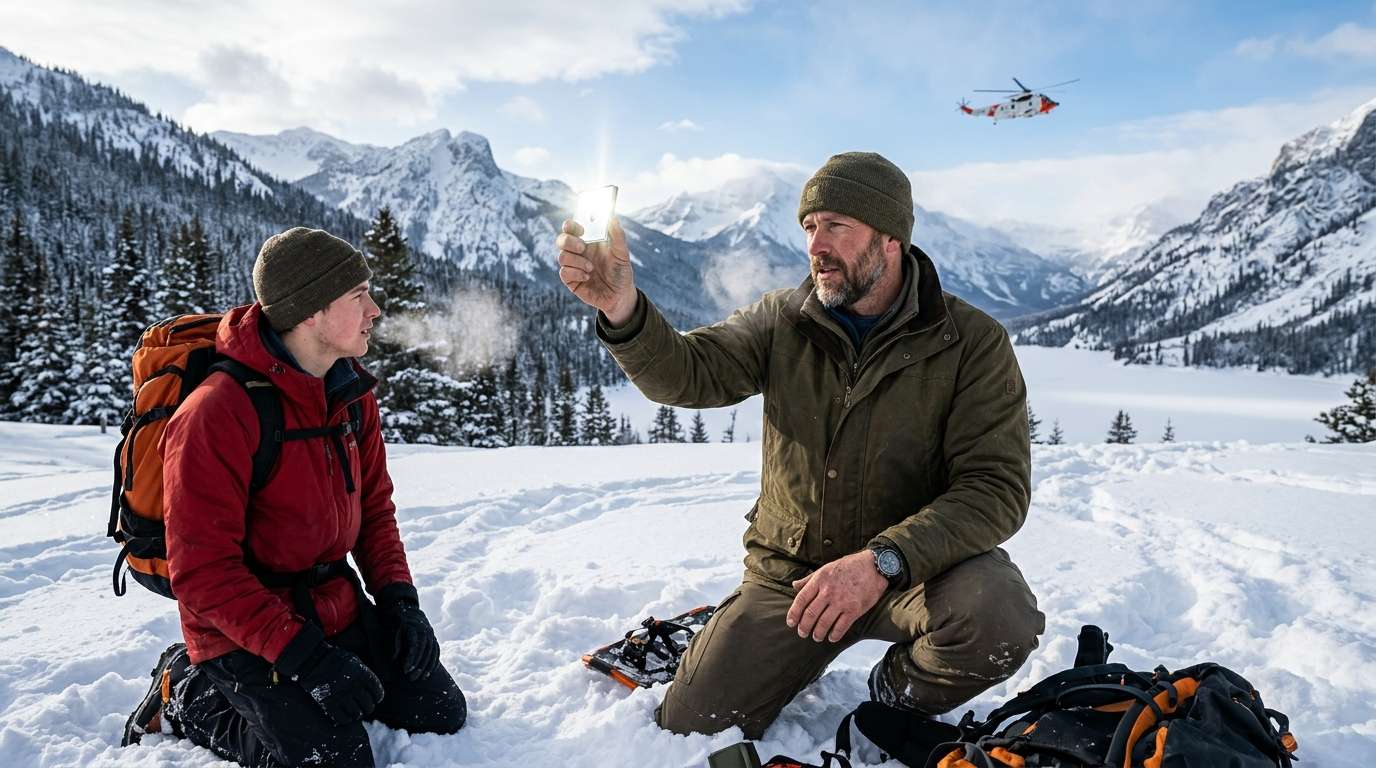
The system: hold the mirror up, sight the target aircraft or rescue beacon through the hole, and tilt until you see the bright spot. Sweep slowly. Rescue pilots are trained to report unexplained flashes — your job is just to keep the signal consistent.
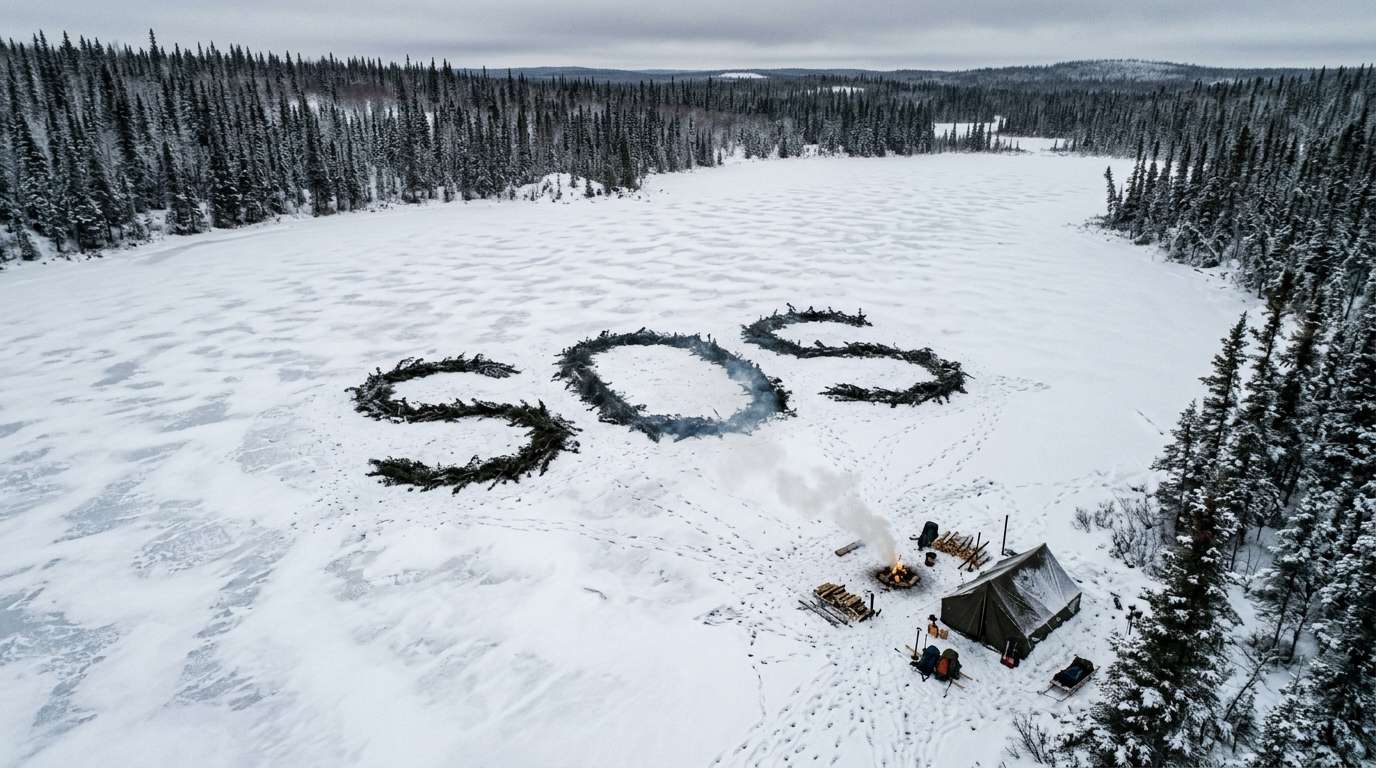
Ground-to-Air Signals: If you’re stationary in an open area — a frozen lake, a clearing, a ridgeline — use available materials to lay a visible ground signal. The standard international distress symbol is a large X or SOS in high-contrast material against snow or ground. Minimum three metres per letter to be visible from standard search altitude.
In February 2019, there was a search response south of Inuvik where a stranded trapper had used dark spruce boughs against white snowpack to lay out a directional arrow pointing toward his camp from a nearby lake. The contrast was visible from 800 metres altitude. He was located in under four hours. That’s protocol thinking applied under real pressure.
High-Visibility Panels: A bright orange or yellow tarp or emergency bivy, spread flat and secured against wind movement, creates a persistent visual target that requires no active management. In open terrain, it’s worth deploying first and maintaining while you work other signal layers.
| LAYER 1 KEY TAKEAWAYVisual signals work best in clear weather. Carry a signal mirror. Know the SOS ground pattern. Deploy high-visibility colour whenever you stop moving. These tools require no batteries — just preparation. |
Layer 2: Auditory Signals
Sound carries well in cold, still air — but it has obvious limitations in wind, precipitation, and complex terrain. Auditory signals are your medium-range tools, and they’re particularly valuable when visibility is low or when you’re in forested terrain that blocks long-range visual contact.
The standard distress signal is three short blasts, repeated at regular intervals — universally recognised by trained rescuers. A quality pea-less emergency whistle can be heard up to 1.5 kilometres in calm conditions and doesn’t require the sustained effort of shouting.
Rule from the field: conserve your voice. People have shouted themselves hoarse in the first hour and have nothing left when a search team was within earshot an hour later. Three blasts on a whistle. Rest. Repeat. The repetition is what signals intent — random noise doesn’t read as a distress call.
In treeline terrain north of the Deh Cho region, where ridge lines and forest create unpredictable acoustics, I recommend auditory signalling in combination with a visual signal — the combination creates a cross-modal signal that’s significantly harder to miss or dismiss.
| LAYER 2 KEY TAKEAWAYCarry a pea-less emergency whistle on your person — not in your pack. Three short blasts is the universal distress signal. Conserve your voice. Combine with visual signals whenever conditions allow. |
Layer 3: Electronic Signals
Electronic signalling devices are your longest-range, highest-reliability tools — but they depend on one thing that the other layers don’t: pre-trip preparation. A device that isn’t registered, isn’t charged, or isn’t carried on your person is a device that doesn’t exist when you need it.
The three electronic tools worth understanding:
- Personal Locator Beacon (PLB): A PLB triggers a 406 MHz satellite distress signal that is received by the COSPAS-SARSAT system and routed to your national rescue coordination centre. In Canada, that’s the Joint Rescue Coordination Centre. PLBs require free registration with NOAA/National SAR authorities, have battery life measured in years in standby, and work anywhere on earth with sky view. They are not subscription devices. For anyone spending time in remote terrain, a PLB is the non-negotiable baseline.
- Satellite Messenger (e.g., SPOT, Zoleo, Garmin inReach): These two-way devices allow text communication via satellite, tracked check-ins, and SOS triggering with monitoring by a private rescue coordination centre. The subscription model adds ongoing cost, but the two-way communication can significantly speed up rescues by confirming your status and location dynamically.
- Cell Phone in PLB Mode: In truly remote conditions, cell coverage is effectively zero. However, in transition zones near communities, a cell signal may exist. Keep your phone in airplane mode to preserve battery and enable it periodically to check for signal. Do not rely on this as a primary tool — it is a contingency layer.
Here’s the protocol given to every client entering remote NWT terrain: carry your PLB on your body, not your pack. If you and your pack separate — snowmobile rollover, river crossing, rapid evacuation — your personal device needs to be with you, not 50 metres downstream.
The satellite messenger occupies a different niche: it’s an ongoing communication tool that keeps your camp or trip coordinator informed. If your planned check-in doesn’t come through, a trained contact can trigger a SAR response before you even activate your PLB. That layered communication protocol has saved time on more than one NWT search response.
Section 4 — Why the Arctic Context Sharpens the Framework
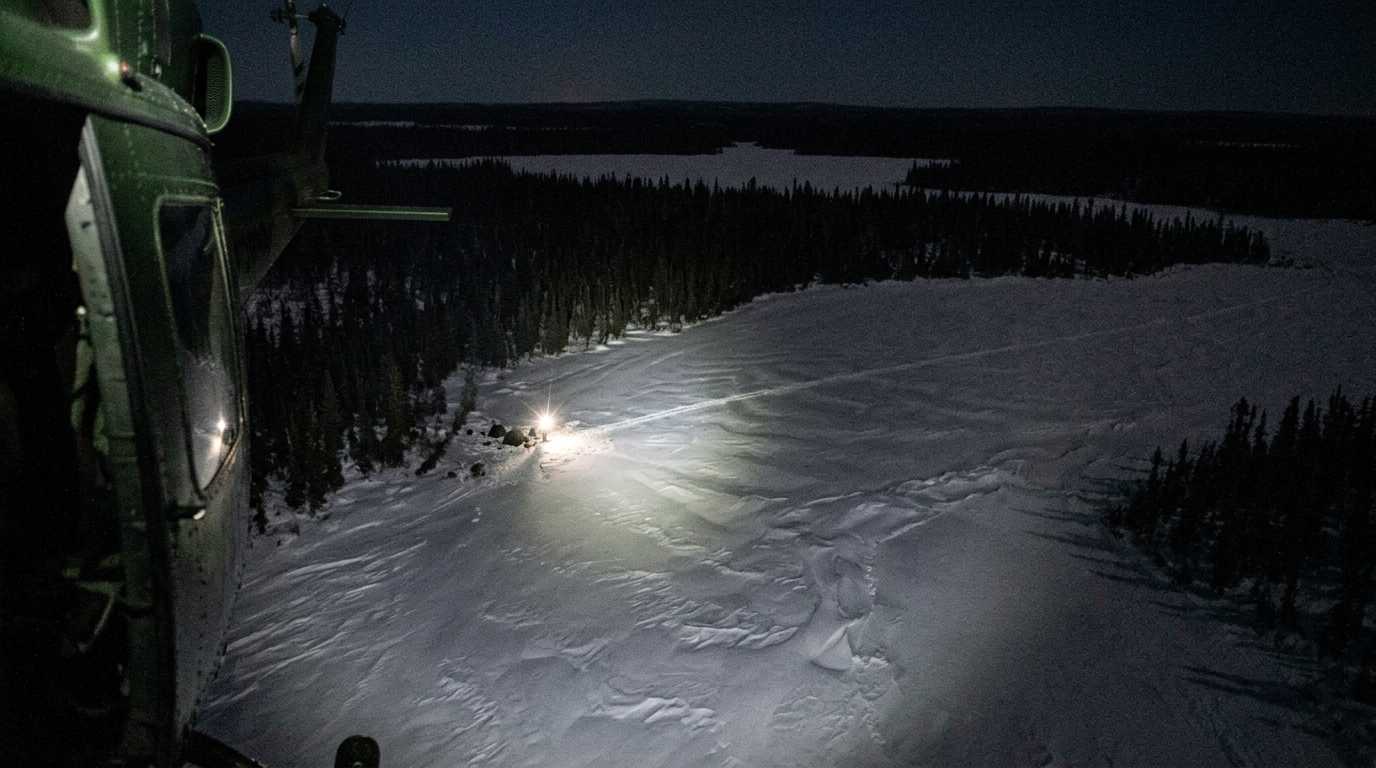
Operating at 68°N in Inuvik gives you a field laboratory that accelerates learning in ways temperate environments simply don’t. The margin for error is smaller. The consequences arrive faster. And the rescue timelines are longer — in remote NWT, helicopter SAR response can run twelve or more hours depending on weather windows and aircraft positioning.
That reality shapes how I teach the Signal Stack Protocol. In southern environments, a missed signal gives you another opportunity soon. In the Canadian Arctic in January, at -40°C (-40°F) with wind, a missed rescue window can mean another six to eight hours of cold exposure. That shift in consequence changes the calculus completely.
Winter conditions in the NWT also affect every layer of the signal stack in specific ways. Visual signals are range-limited at night and by blowing snow — which means timing your signals to fly-overs and daylight windows becomes a tactical skill, not just a hope. Auditory signals are diminished in strong wind — knowing when to whistle and when to save the energy matters. Electronic signals are unaffected by weather, which is precisely why they sit at the top of your escalation plan when conditions deteriorate.

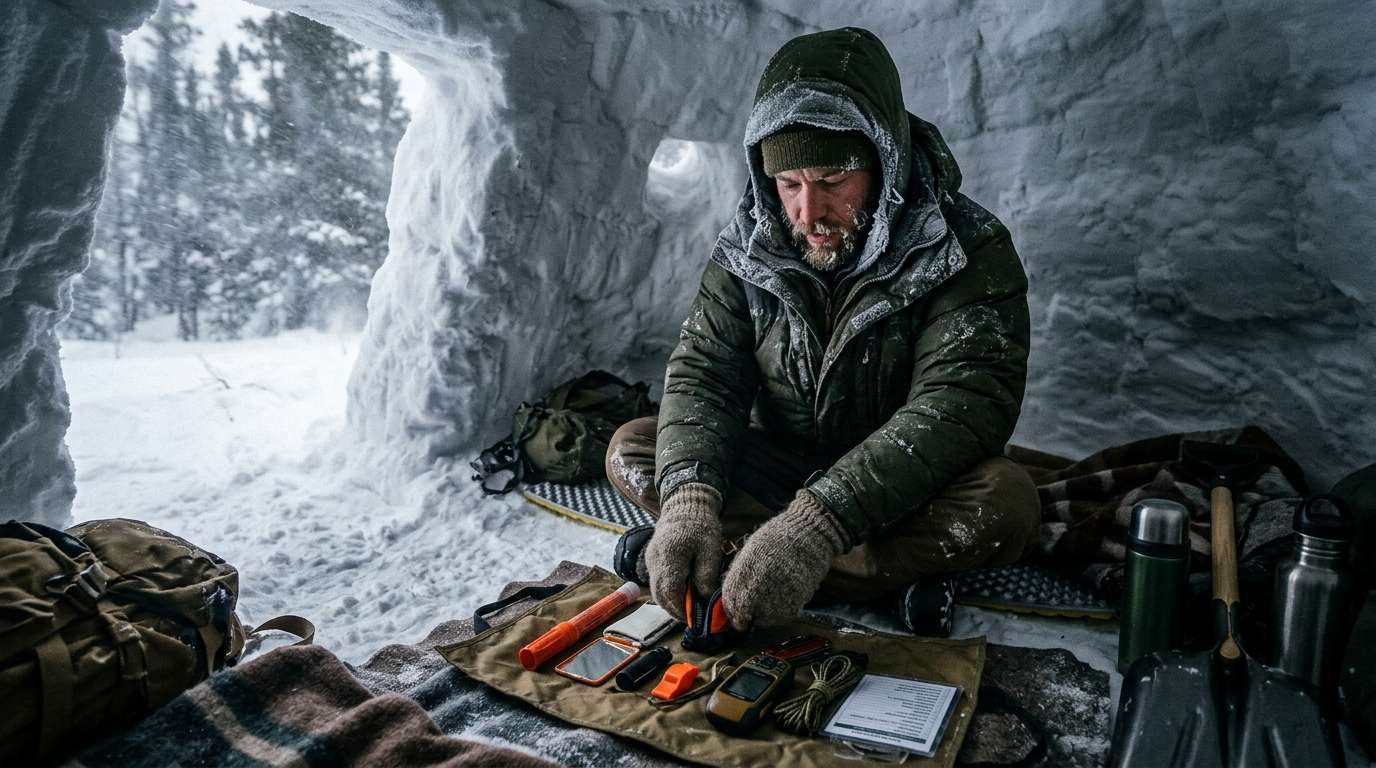
My EMR training added a second dimension to this: the injured or hypothermic patient who needs to signal. A person with limited fine motor control — common in cold exposure — cannot reliably operate a satellite communicator or position a signal mirror. This is why I always teach signalling techniques alongside basic cold-weather management. The two systems support each other. A patient who is warm enough to think clearly is a patient who can still signal.
These aren’t theoretical considerations. They’re the product of years of real calls, real conditions, and field protocols that had to hold up when classroom assumptions no longer applied.
Section 5 — Your Three-Phase Signalling Readiness Framework
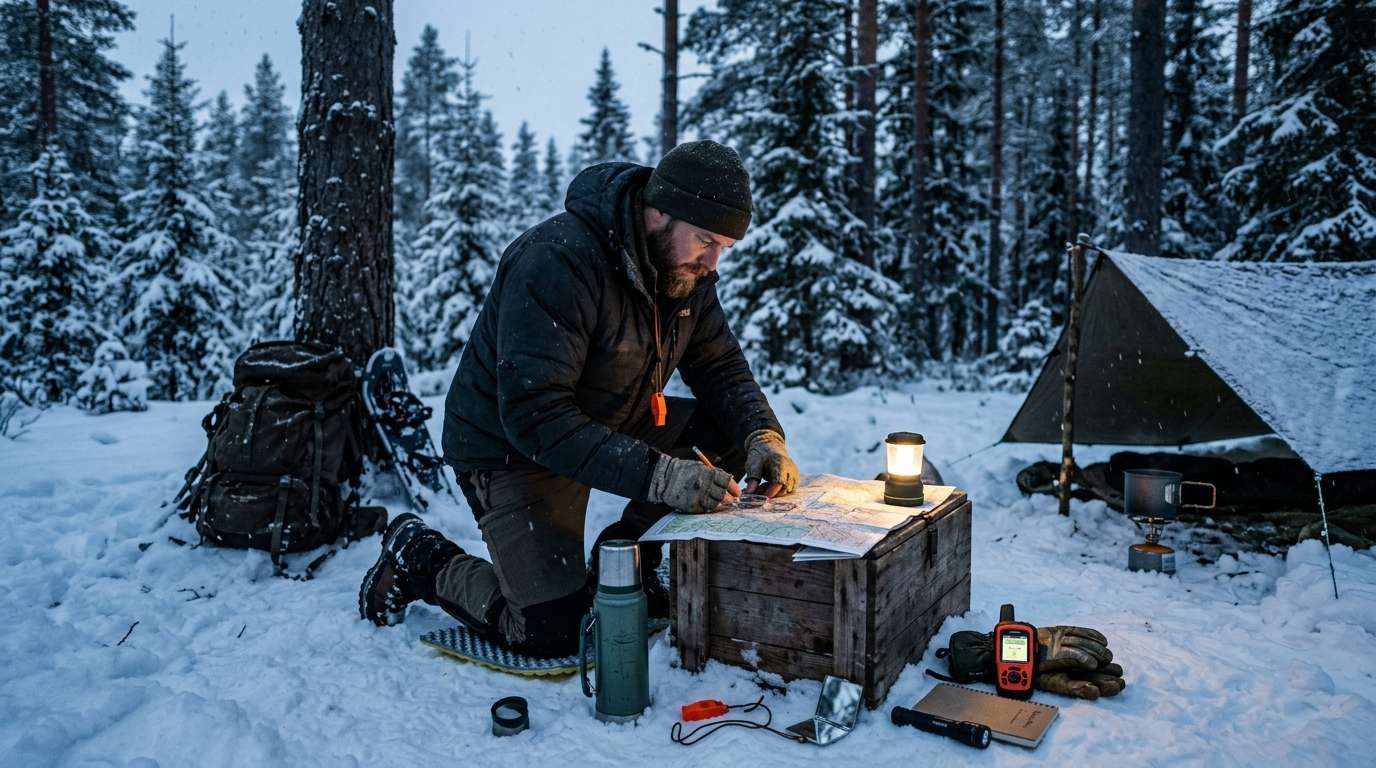
Building emergency signalling competency doesn’t require an Arctic expedition. It requires a structured approach — exactly the kind you’re already comfortable with in your professional life.
| Phase 1: Kit Your Kit (Week 1)Add three items to your outdoor kit: a quality signal mirror with sighting hole, a pea-less emergency whistle worn on your person, and a registered PLB. This is your non-negotiable baseline. Everything else builds on these three tools. |
| Phase 2: Practise the Protocol (Month 1)Run through the Signal Stack Protocol before your next trip — not during an emergency. Practice your signal mirror technique in daylight. Know the SOS ground symbol. Test your PLB registration is current. Brief your trip contact on your check-in schedule and what to do if you miss one. |
| Phase 3: Integrate and Audit (Ongoing)After every backcountry trip, do a five-minute signal audit. Is your PLB battery status current? Is your whistle accessible without removing your pack? Did your trip contact have the right numbers? This isn’t paranoia — it’s professional standard operating procedure, the same way you’d review your kit after a field deployment. |
This isn’t a skill reserved for SAR volunteers or Arctic operators. It’s a framework. And if you’re the kind of person who approaches wilderness trips with the same rigour you bring to your professional work, you’ll find it fits naturally into how you already think.
The Signal Stack Protocol is one module within the broader WildSurvival101 curriculum — built specifically for professionals who want systematic, confidence-building wilderness preparedness training, not fear-based survival theatrics. If you’re ready to build that foundation, start at WildSurvival101.com.