
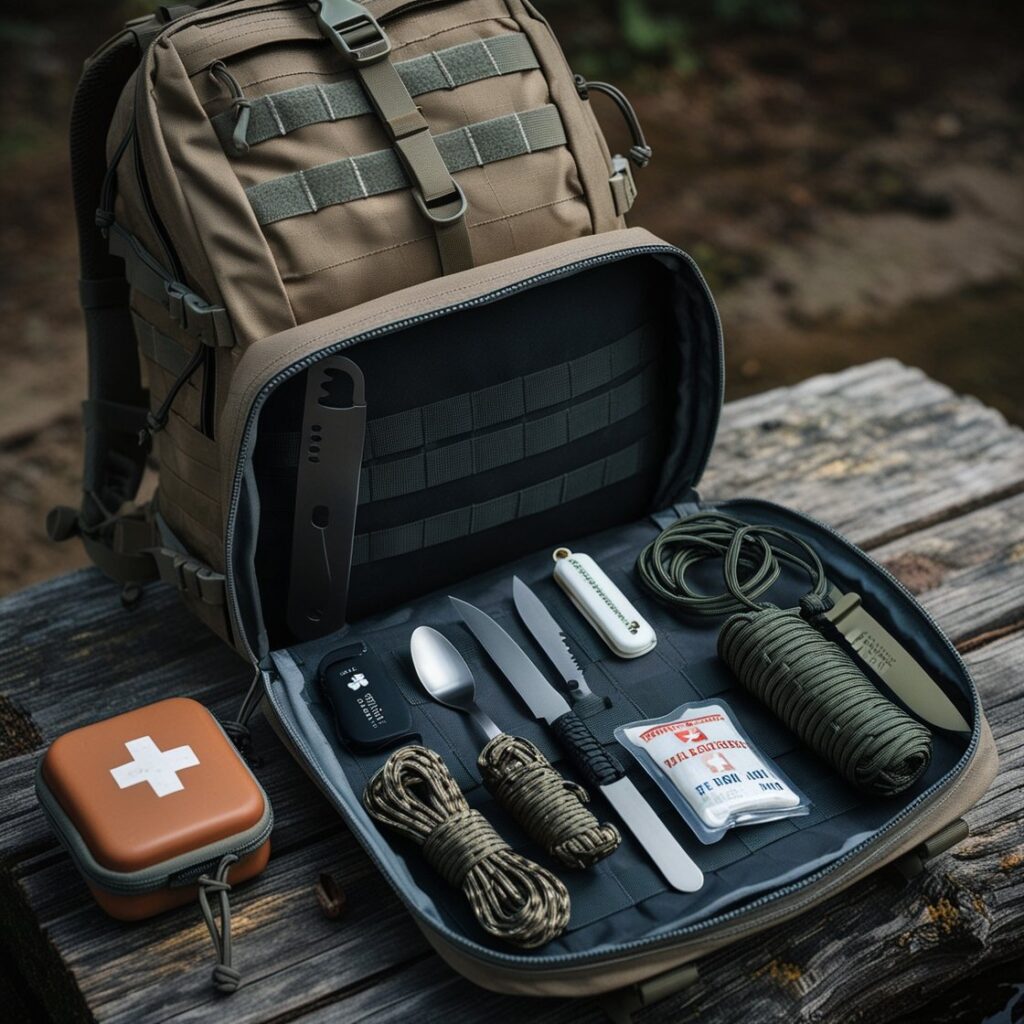
Let’s talk about turning your bug-out bag from a basic emergency kit into a personalized survival powerhouse. We all know a bug-out bag is meant to keep us going for 72 hours when things go sideways, but why settle for just getting by when you can thrive?
Through years of trekking, training, and yes, a few close calls in the wilderness, I’ve developed 11 game-changing hacks that’ll take your bug-out bag to the next level. These aren’t your run-of-the-mill tips – they’re field-tested innovations that could make all the difference when you’re up against the elements. These customizations will help you create a bug-out bag that’s as unique as you are. Ready to upgrade your survival game? These 11 hacks will have you prepared for anything nature throws your way.
1. The Swiss Army Spork: Multi-purpose Tool Creation
During a backcountry expedition, I found myself fumbling with multiple utensils while trying to prepare a meal. Frustrated, I grabbed my knife and began modifying my spork. The result? A true multi-tool that’s now the cornerstone of my camp kitchen.
To create your own, you’ll need:
- A sturdy plastic spork
- A small knife or multi-tool
- Sandpaper
- A lighter
Start by carefully cutting notches along one edge of the spork to create a serrated knife edge. Smooth any rough edges with sandpaper. Next, use the lighter to heat the opposite end of the handle and bend it slightly to form a small pry bar or can opener. With practice, you can add more functions, like a bottle opener or small wrench.
This hack saves valuable space and weight in your bag. The multi-function spork replaces several individual tools, streamlining your kit without sacrificing functionality.
2. The Featherlight Shield: Ultralight Waterproofing Method
I learned the hard way that traditional waterproofing methods can add significant weight to your gear. After a particularly miserable night in a soggy sleeping bag, I developed this ultralight technique.
You’ll need:
- Silicone sealant
- A small brush
- Isopropyl alcohol
Mix one part silicone sealant with two parts isopropyl alcohol to create a thin, paintable solution. Apply this mixture to your gear using the brush, focusing on seams and high-wear areas. The alcohol will evaporate, leaving behind a thin, waterproof layer of silicone.
This method adds minimal weight while providing excellent water resistance. It’s particularly effective for tarps, tent floors, and the outside of sleeping bags.

3. The Tetris Master: Space-saving Modular Storage System
Inspired by the classic game Tetris, I developed this system after spending far too much time digging through my bag for essential items.
Materials:
- Small stuff sacks of various sizes
- Velcro strips
- Fabric paint or markers
Organize your gear into categories (first aid, fire starting, etc.) and place each category in a stuff sack. Attach velcro strips to the sides of each sack. Use fabric paint or markers to color-code or label each sack.
This system allows you to quickly identify and access specific gear. The velcro lets you attach sacks together in various configurations, maximizing space efficiency and allowing you to customize your layout for different trips or scenarios.

4. Power Pucks: DIY high-calorie, nutrient-dense food bars
After a close call with hypothermia when my food supplies ran low, I developed these compact, energy-rich food bars.
Ingredients:
- 1 cup rolled oats
- 1 cup mixed nuts and seeds
- 1/2 cup dried fruit
- 1/4 cup honey
- 1/4 cup peanut butter
- 1 scoop protein powder (optional)
Mix the dry ingredients, then add honey and peanut butter. Press the mixture into a greased baking pan and bake at 350°F for 15-20 minutes. Cut into bars and wrap individually.

These bars pack a hefty caloric punch in a small package, providing sustained energy for survival situations. They’re customizable based on your nutritional needs and taste preferences.
5. Nature’s Pharmacy: Custom First-Aid Kit with Natural Remedies
A severe allergic reaction during a solo trek taught me the value of natural remedies as a backup to traditional first aid supplies.
Key additions to your first aid kit:
- Dried yarrow leaves (natural coagulant)
- Activated charcoal (to lessen the effects of poisoning)
- Ginger root (nausea, inflammation)
- Echinacea (immune booster)
- Calendula salve (wound healing)
Research proper usage and dosage for each item. These natural remedies can supplement your standard first aid supplies, providing additional options in emergencies.

6. The Everlasting Flame: Hybrid Fire-Starting Tool
After struggling to start a fire with damp materials during a rainy camping trip, I created this reliable hybrid fire starter.
You’ll need:
- Empty lip balm container
- Cotton balls
- Petroleum jelly
- Ferro rod
- Striker
Fill the lip balm container with cotton balls soaked in petroleum jelly. Attach the ferro rod to the outside of the container with duct tape, and secure the striker to the lid.

This compact tool combines a weatherproof tinder source with a reliable ignition method, ensuring you can start a fire in almost any condition.
7. The Silent Compass: Personalized, Encrypted Navigation Aid
Lost in featureless terrain, I once wished for a navigation method that didn’t rely on noisy electronics or conspicuous maps.
Materials:
- Small, flat compass
- Permanent marker
- Clear nail polish
Create a personalized system of symbols representing key directions, landmarks, or instructions. Mark these on the compass face with the permanent marker, then seal with clear nail polish.
This low-tech navigation aid is discreet, doesn’t require batteries, and can be customized for your specific area or journey. Only you know what the symbols mean, adding a layer of security to your navigation.

8. The Instant Igloo: Quick-Deploy Shelter Modification
Caught in a sudden downpour miles from my campsite, I wished for a shelter that could be set up in seconds.
To modify your existing shelter:
- Pre-tie guylines to your tarp or tent
- Add quick-release buckles to key connection points
- Practice rapid deployment regularly
These modifications allow you to set up your shelter in a fraction of the usual time, providing crucial protection when every second counts.
9. The Rainmaker: Gravity-Fed Water Filtration System
Dehydration nearly ended one of my expeditions prematurely, prompting me to develop this hands-free water filtration system.
Connect the bladders with the filter and tubing. Hang the full bladder above the empty one, allowing gravity to pull water through the filter.
You’ll need:
- Two collapsible water bladders
- Water filter
- Length of tubing
- Cordage

This system allows you to filter water while performing other tasks, saving time and energy in survival situations.
10. The Chameleon Coat: Adaptive Clothing Solution
Unexpected temperature swings during a mountain trek inspired this versatile clothing hack.
Materials:
- Lightweight, breathable jacket
- Insulating material (e.g., synthetic down)
- Snap fasteners or velcro
Create a modular jacket system by adding removable insulating layers to your base jacket using snap fasteners or velcro. Include options for waterproofing and wind resistance.
This adaptable system allows you to adjust your clothing to a wide range of weather conditions without carrying multiple bulky garments.

11. The Whisper Web: Silent, Off-Grid Communication Device
During a group survival exercise, I realized the need for silent, battery-free communication over short distances.
Materials:
- Paracord
- Small bells or lightweight metal objects
- Laminated code sheet
Create a web of paracord between camp locations. Attach small bells or metal objects to key points. Develop a code based on the number and pattern of rings.
This low-tech communication system allows silent signaling between team members without relying on electronics, which can be crucial in covert scenarios or when conserving battery power.

Final Thoughts
As I reflect on the storm-tossed night that put these hacks to the ultimate test, I’m struck by how each small modification contributed to my survival. The multi-tool spork helped me prepare a hot meal, the waterproof sleeping bag kept me dry, and the DIY energy bars provided crucial calories to maintain my body heat.
These 11 hacks represent years of trial and error, near-misses, and continuous refinement. They’ve elevated my bug-out bag from a simple emergency kit to a comprehensive survival system tailored to my needs and experiences.
But don’t feel overwhelmed—start with one hack that resonates with you. Maybe it’s the space-saving storage system or the natural first-aid kit additions. Implement it, test it, and make it your own. Gradually enhance your bug-out bag over time, learning and adapting as you go.
Remember, preparedness is an ongoing journey, not a destination. These hacks are a starting point, a foundation for you to build upon. As you gain experience and face your own challenges, you’ll undoubtedly develop innovations of your own.
